
A couple of weeks ago I sent some DT samples off to Kay at Indigo Blu, for her show on Create and Craft. We had to include some home decor items along with some gift ideas. One of the things I sent in was a little note holder box .....

I've had quite a few people ask how I made the box, and if there's a template. Well, I don't have a template unfortunately, so I thought I'd have a go at some 'How To's'
I found the instructions for the box on the internet, on SplitcoastStampers.com. If you're not familiar with this site, take a look, it's fantastic. It's full of fabulous ideas for cards and gifts along with detailed instructions and what you need to make each one.
The Note Holder was a fab little project by Beate Johns, here's my version ......... I'll warn you now it's a bit of a long post, there's quite a few pictures along with the instructions, you may want to grab a coffee first!
You'll need ......
cardstock
score board & tool
3/4" circle punch
Copy Paper
Strong double-sided tape/wet glue
Rubber Stamps
Ribbon
Button
1. Cut a piece of cardstock to 7 5/8" square.
Score at 1" and 2" on all four sides.


5. Mask off the sections that will form the sides of your box, and stamp your chosen design.

7. Start with the sides that have the tabs on first, fold down the top edge, and stick. Repeat on opposite side.


10. Stick one end of a piece of ribbon to the bottom of the box.

Stamp the squares to co-ordinate with your box.

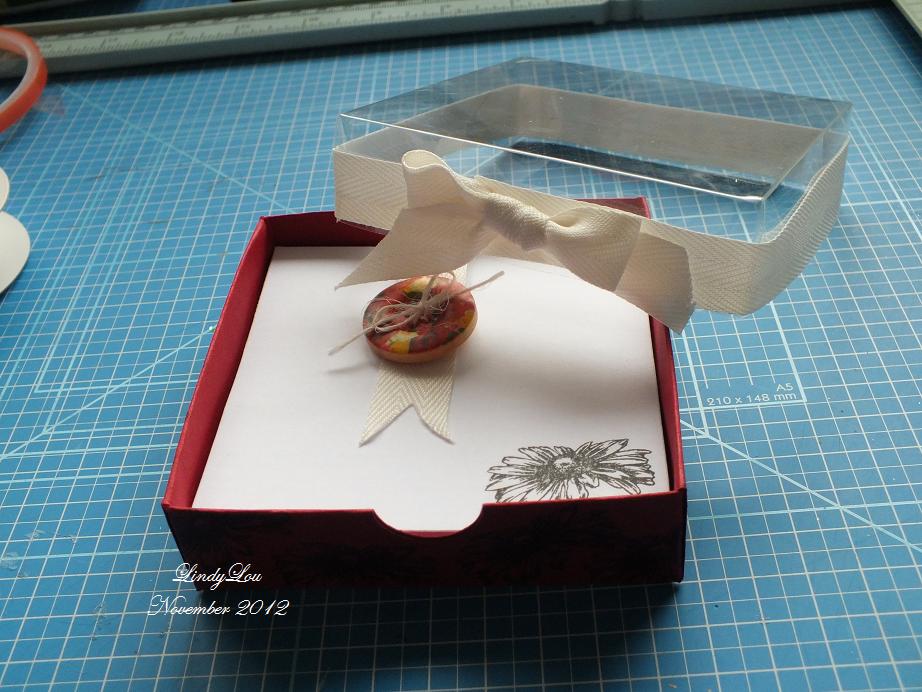
12. Fill the box with the squares, fold over the ribbon and cut to size.
Attach a pretty co-ordinating button onto the ribbon, this will form a weight to keep the notes in place.

Cut a 53/4" square of acetate, and score at 1" on each side. Cut away a triangle from the corner squares, and use a bone folder to make nice neat creases. Stick the tabs to form your lid and a length of ribbon to hide the adhesive.
I hope these instructions are easy to follow.
Pop over to the SplitCoastStampers website and see what other fabulous ideas you can find.
Thanks for looking
See you again soon
Linda
x
2 comments:
What the ...? I can't believe there are no comments. This is fantastic and thank you so much for the wonderful tutorial which I've bookmarked!
This is a very clear tutorial Linda, and a gorgeous set of notelets.
Saw your stash in the previous post, look forward to seeing your 'creations' esp. the Postcard stamp.
Thanks for your nice comments this morning.
Avril xx
Post a Comment