Hello again ...... Happy Friday evening
Are you ready for the weekend ........ maybe yours has started already.
I'm home alone this evening ....... hubby is out with the guys from work. I was invited to join them but, to be honest .... I couldn't be bothered!
It's PJ's, a glass of wine and an early night for me I think ........ living the dream!
Before I settle in front of the TV to catch up with my soap operas I've just realised that I haven't shared any Sweet Poppy Stencil samples with you from Lucy's show last week!!! Shame on me!!!
It seems to have been all about stencils recently ...... I actually sorted through all mine this afternoon, something I've been putting off for a long time. But, it's all done .... now they're just all over the craft room floor, in various categories, waiting for me to decide how to store them. I'll get back to you on that one!!
Anyhow .... back to Sweet Poppy. Lucy launched some brand new designs on her last show and they proved to be very popular. One of my favourites was the Star Blossoms
Such a pretty design .... great for backgrounds and creating scenes, but just as gorgeous as the focal point on your cards
I simply used it with the Black stencil paste onto a coloured background (Distress inks)
and then sprinkled over the top with glitter. This was the Sweet Poppy Crystalina Rainbow glitter, I love how the colours really come through when you use it on black
Here's the same stencil, but with the white paste this time ....
A delicate Brusho background .....
And the glitter again .... love it!!
Here's one using a stencil that wasn't on the show ..... but I just couldn't resist having a play. Maybe if you're lucky enough to be visiting the craft show at the NEC this weekend you may just see it there
How gorgeous is she ......... just look at those long legs!! I think she goes perfectly with the Star Blossoms don't you!
Just look at the detail ...... I used the brand new Peach coloured paste through the stencil then added pink glitter just to the body
A simple sentiment and the Star Blossoms around the edges ... love it!
Another favourite was the Damask Flower .....
I've used three of the new coloured pastes one this one, and chopped the design into four
Such pretty soft shades ... that blend beautifully.
Here's the stencil again this time with the glitters ......
A simple sentiment, stamped and heat embossed and you have a card suitable for so many occasions.
Speaking of stamps, if you are going to the NEC this weekend .... say Hi to Lucy for me and check out the Sweet Poppy Stencil stand. They're launching a brand new range of sentiment stamps that will go perfectly with all of their stencil designs. I can't wait to get my hands on those.
Thanks for stopping by this evening ..... enjoy the weekend.
Time to put my feet up I think ... and I may just have to try a little piece of these ....
It's been a long time since I've done any baking ..... but I had to try out the new mixer.
They look OK and they smell delicious, especially the chocolate brownies .... nom! nom!
There's gin jam in the victoria sponge too!! Will they last the weekend?!
Cheerio until next time .....
Friday, 16 March 2018
Uniko Challenge #46 ......
Happy Friday folks .....
I hope you've had a good week and that you have something nice planned for the weekend.
Let's get it started and have some fun with the latest Uniko Blog Challenge.
I hope you've had a good week and that you have something nice planned for the weekend.
Let's get it started and have some fun with the latest Uniko Blog Challenge.
#46 ...... Colours
with an optional twist ..... Easter
I've used two of the gorgeous Spring colours from the Inspiration Photo, the pink and green. It felt like Spring was on its way earlier in the week ..... not so much today however. Oh well, lets see what the weekend brings!
I've also used the optional twist on my inspiration piece.
I don't actually send Easter cards but, I couldn't resist trying this ......
How was the cute little Easter egg created, well ........ I've used the new Balloon Bash stencil of course ......
Turn the large balloon upside down, mask off the mouth piece and you have this cute little egg shape.
I simply inked through the stencil with Twisted Citron Distress Oxide ink, onto a piece of white cardstock
Keeping the balloon stencil in place ......
QUICK TIP .... always tape your stencil in place even if it's only on one side, this then gives you a hinge allowing you to lift up the stencil and look underneath or in this case ......
I added in the Scattered Polka Dots stencil underneath the balloon stencil, and then used some white texture paste to add the spots
Whilst the paste was still wet I sprinkled over the top with some pretty pink glitter and then left it to dry.
I stamped the bow from the co-ordinating Balloon Bash stamp set and then fussy cut around it before adding it to the top of the egg
A simple sentiment to finish off ...... from Uniko's Simply Said
And a little something on the inside ....
I used a Post It note to mask off the centre of the card, stenciled the Scattered Polka Dots around the edges and then doodled around the inside with a fine liner
The challenge runs until midnight on Friday 20th April so there's lots of time to play along.
Happy stamping!
Thanks for popping by ...... have a great day and enjoy the weekend.
Cheerio until next time ....
Tuesday, 13 March 2018
Stencil fun ........Weekend Workshop
Happy Tuesday ......
What a lovely day we have here .... the sun is shining and the sky is blue. Spring is definitely on its way!
It was our monthly workshop at the weekend .... the first one in the new house, and we had fun playing with Stencils
You know how it is, we all have lots of pretty stencils in our craft stash but .... do we use them? And the answer to that is usually .... not as much as we should!
I love stencils but they're not always the first thing I reach for .... that's usually rubber stamps.
I do have my favourite stencils however and they do get used time and time again ..... the brickwall, for me, is a must have
Honeycomb is another one ..... great for adding that little bit more interest to the background
And a pretty flourish that I love to layer ..... oooh! the harlequin's not bad either
We did the usual with stencils .... ink straight through the design, nothing too difficult. I'd used the brand new beautiful large Chrysanthemum from the Pure Florals range at Uniko Studio, as one of my samples, I love this
Another popular design was this pretty Daisy from Inkylicious .......
Simply inked with Distress inks and then I added a hidden sentiment inlaid into the front of the card
You know me ..... I like to decorate the insides of my cards. Use stencils and a little less ink to make the inside look pretty too
Next up we used the stencils more like a stamp ..... applied ink directly onto the stencil, spritzed with water and then placed the stencil onto a piece of cardstock.
This gives a sort of watercoloured look to the design I think ....
Here's that pretty daisy again done this way ..... doesn't it look so different
Depending on how much ink you've applied to the stencil and what sort of cardstock you use, you may even get two or even three prints using this technique, without adding any more ink .... give it a try.
To finish off we did a little layering using stencils ...... inks again and adding some stamps
This is fast becoming a new favourite stencil of mine ....... one of the floral designs from Tim Holtz ...... you may just see a little more of it on here you never know
A sentiment stamped directly over the top looks fab .....
We also layered using texture paste ......
Another of Tim's floral designs, with white texture paste this time, and then black glitter sprinkled over the top whilst the paste is still wet
You can see in the background I've used a heart stencil along with the last technique ... inking the stencil, spritzing and then printing with the stencil. This was done onto a piece of watercolour card and it looks like I added more water in some places, so the design isn't as sharp but I quite like this effect, it looks more random, if that makes sense.
A few tips that I find useful when using stencils ......
Thanks for popping by ....... enjoy the rest of your day.
Cheerio until next time
What a lovely day we have here .... the sun is shining and the sky is blue. Spring is definitely on its way!
It was our monthly workshop at the weekend .... the first one in the new house, and we had fun playing with Stencils
You know how it is, we all have lots of pretty stencils in our craft stash but .... do we use them? And the answer to that is usually .... not as much as we should!
I love stencils but they're not always the first thing I reach for .... that's usually rubber stamps.
I do have my favourite stencils however and they do get used time and time again ..... the brickwall, for me, is a must have
Honeycomb is another one ..... great for adding that little bit more interest to the background
And a pretty flourish that I love to layer ..... oooh! the harlequin's not bad either
We did the usual with stencils .... ink straight through the design, nothing too difficult. I'd used the brand new beautiful large Chrysanthemum from the Pure Florals range at Uniko Studio, as one of my samples, I love this
Another popular design was this pretty Daisy from Inkylicious .......
Simply inked with Distress inks and then I added a hidden sentiment inlaid into the front of the card
You know me ..... I like to decorate the insides of my cards. Use stencils and a little less ink to make the inside look pretty too
Next up we used the stencils more like a stamp ..... applied ink directly onto the stencil, spritzed with water and then placed the stencil onto a piece of cardstock.
This gives a sort of watercoloured look to the design I think ....
Here's that pretty daisy again done this way ..... doesn't it look so different
Depending on how much ink you've applied to the stencil and what sort of cardstock you use, you may even get two or even three prints using this technique, without adding any more ink .... give it a try.
To finish off we did a little layering using stencils ...... inks again and adding some stamps
This is fast becoming a new favourite stencil of mine ....... one of the floral designs from Tim Holtz ...... you may just see a little more of it on here you never know
A sentiment stamped directly over the top looks fab .....
And of course the stencil looks just as pretty on the inside ....
We also layered using texture paste ......
Another of Tim's floral designs, with white texture paste this time, and then black glitter sprinkled over the top whilst the paste is still wet
You can see in the background I've used a heart stencil along with the last technique ... inking the stencil, spritzing and then printing with the stencil. This was done onto a piece of watercolour card and it looks like I added more water in some places, so the design isn't as sharp but I quite like this effect, it looks more random, if that makes sense.
A few tips that I find useful when using stencils ......
- Tape your card and your stencil in place whether you're using inks or pastes. Always have at least one side taped, that way if you need to lift your stencil to see how the design is coming along, when you put it back down it will be in the correct place
- If there's any blank card showing, make sure to cover it, either with more tape or just copier paper. You won't get ink where you don't want it then.
- Use a very low tack stencil tape so that it doesn't damage your cardstock
- and finally ...... if you're not using all of the design on the stencil use the stencil tape to cover up the bits that you don't want to get ink through .... no matter how careful you think you're going to be, ink gets everywhere!
Speaking of stencils, check out the Uniko Studio Blog tomorrow. I'm doing my first DT post on there since joining the Stencil Design Team.
Hmmm ....... now what shall we do for next month's workshop?
I need to get my thinking cap on as our little get together is a week early. We've only gone and booked a little holiday, so I've had to change the date for the April one.
Hubby and I are off to Italy again ...... we've got 7 nights in Sorrento.
We've never done any of the Amalfi coast so it'll be an adventure. I'm so looking forward to it
It's going to be a busy few weeks before we go though!
Thanks for popping by ....... enjoy the rest of your day.
Cheerio until next time
Sunday, 11 March 2018
Brand new stamps from Happy Little Stampers ..... let's have a Blog Hop to celebrate
Happy Sunday evening ......
I hope you've all had a nice weekend. It's been a busy one here ..... and it's not over yet!!
It's time to showcase the BRAND NEW stamp release from Happy Little Stampers. And guess what .... we're having a Blog Hop to celebrate!!!
You might want to grab a cuppa .... or something a little stronger maybe depending on what time it is where you are because this post is a BIG one!!!
You have the chance to win some amazing prizes too .... just by hopping along and leaving comments along the way .... more about that later.
All of the Design Team have been busy creating a feast of inspiration for you using the new stamp sets, and it's all on show for you in this blog hop. Follow the links at the end of this post and see what they've been up to .... and don't forget to leave your comments. We'd love to hear what you think of the new stamps .... I think you're going to love them as much as we do?
There's 6 brand new sets ...... and something for everyone.
Pretty little delicate Dandelion heads, and the Succulents are just so cute!
Just look at all those sentiments too ......
Born to be Wild is a great set for guys, and the words on the Smile set are so useful. Love the large fonts!
There's even a little Christmas in there too ..... time to make a start on all Christmas cards!!
CAS ..... stamp the flower heads over pretty inked backgrounds. This was a piece of card I found in my bit box which I think has been smooshed with Distress ink, spritzed with Perfect Pearls
I added a touch of fine glitter to the dandelions just for a bit of sparkle ......
and finished off with one of the sentiments from the set
You may of already seen the next one on Friday's Blog post (I sneaked one in early ... ooops!) It was done using the same stamps ...... but a totally different look ....
One of my favourites now ...... Perfectly Succulent This is so cute!!
Great little images to use in aperture cards maybe ....
Use dies or punches to make your apertures ......
The images are so easy to colour ......
I used foam pads to give a bit more dimension.
All of the words are from the stamp set too .... love this font!
Don't just keep your stamps for the front of your cards .... use them on the inside too
How about this for a bit of fun .......
Sorry .... I couldn't resist adding the googly eyes!
He dances too ..... a little piece of folded acetate to make a sort of spring ...... love it!
Mix and match your stamp sets ..... they all work so well together
The words are from Smile! and look, there's those Succulents again ......
I think I need to treat myself to a new pot of Clear embossing powder .... this one has been contaminated with a little bit of white I think ...... ooops!
Back to CAS, and another leftover piece of card ... stenciled this time, but perfect for using with the new Smile words
Sometimes a simple word says it all .....
Why not make tags too .....
Still with me? Great ...... three more sets to go!
Next up is Born to Be Wild ..... how about this for all those men in your life, or kids designs, especially teenagers I think.
Go wild with your backgrounds ...... I used Distress Stains here, straight from the bottle. Simply remove the top, and smash the sponge (technical term there) down onto your cardstock to get these great splatters .... love it (Top Tip ...... don't wear your best t-shirt when you're doing this ...... !!)
I did stamp the zebra first and created a mask before I added the colour ..... just look at that face!
Another aperture card ...... with another crazy background
Various colours of Distress Oxides just splattered onto the background using an old paintbrush ..... easy and fun to do!
An aperture cut in the front for the lion to peep through whilst the card is closed .....
And then when you open it up .....
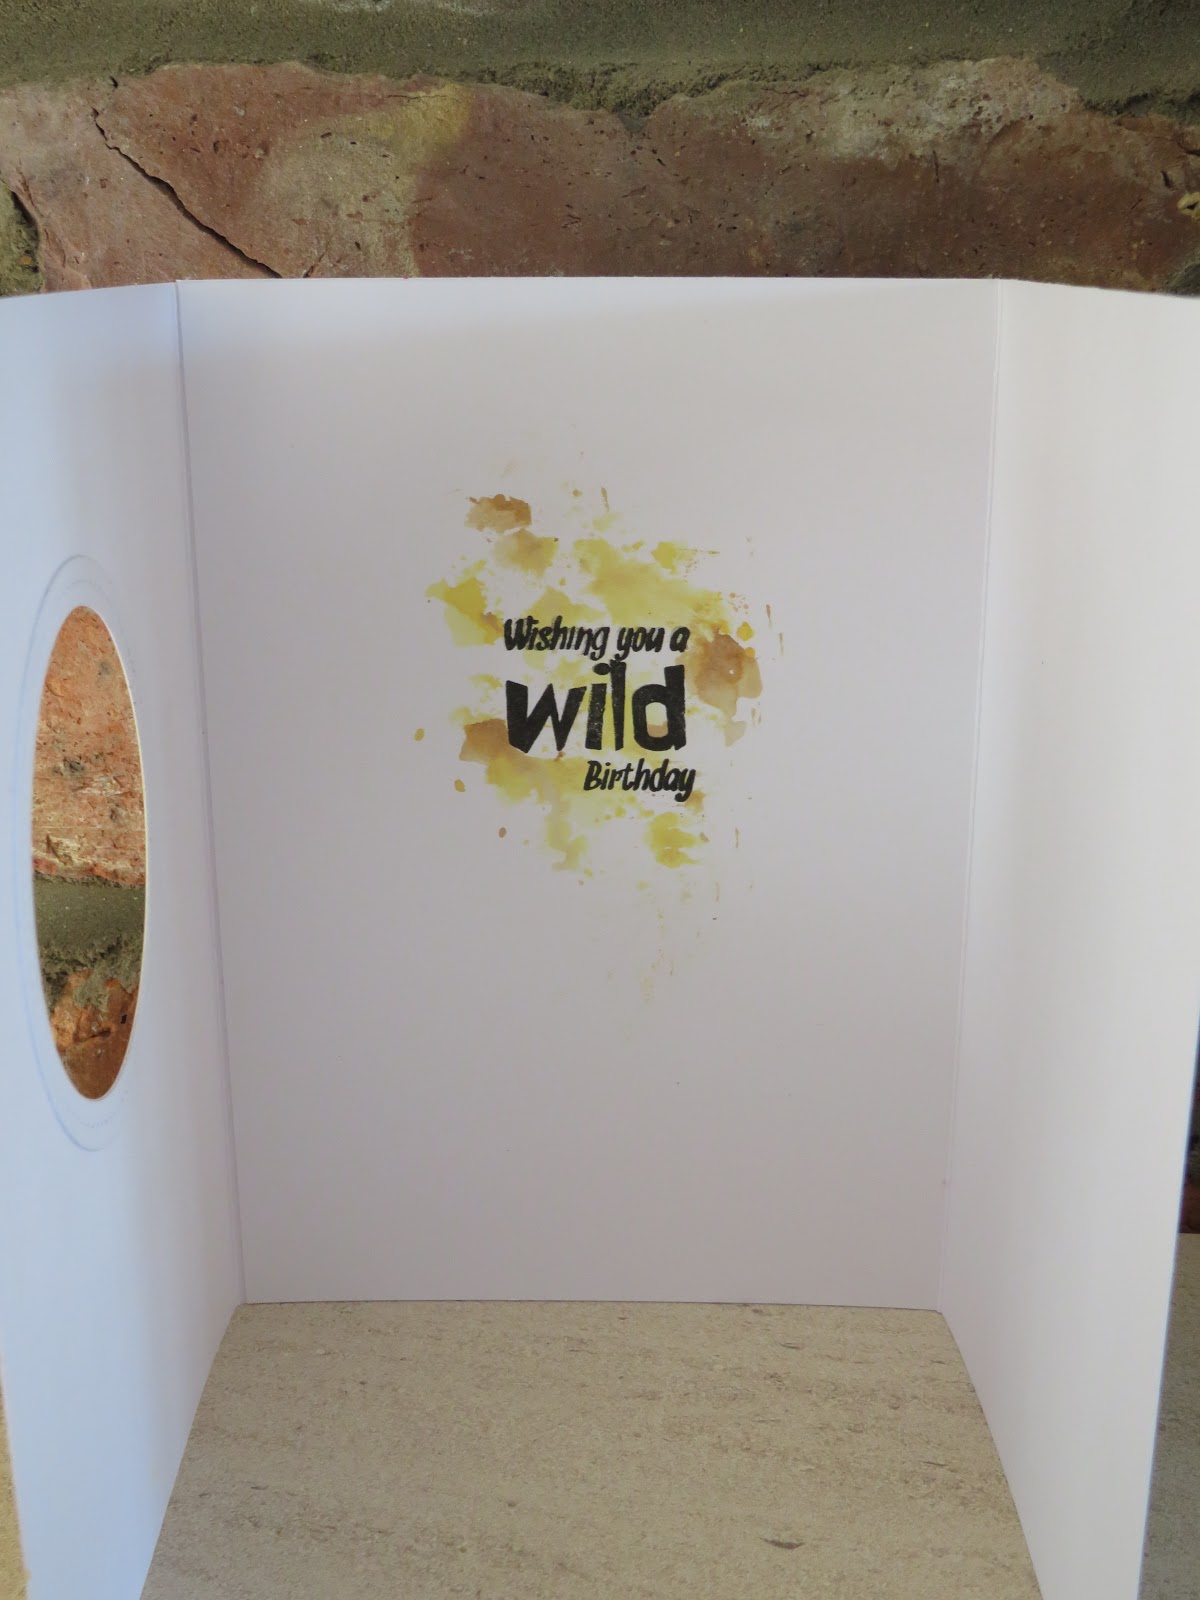
Open it up again and there's more on the inside too ......
You can tell I love the whole of this new release .... each set is so much fun to use.
And it's never too early to make a start on those Christmas cards you know .......
Pretty sparkly snowflakes from the Let it Snow set ....... love white ink on Kraft card.
And a really cute CAS design using Merry Kissmas
Phew!! We made it to the end. Congratulations if you're still with me ...... I hope you like what you've seen. How long is the shopping list?
Time to hop along and catch up with the rest of the DT ..... and don't forget about the prizes up for grabs.
Here's how to win ......
I hope you've all had a nice weekend. It's been a busy one here ..... and it's not over yet!!
It's time to showcase the BRAND NEW stamp release from Happy Little Stampers. And guess what .... we're having a Blog Hop to celebrate!!!
You might want to grab a cuppa .... or something a little stronger maybe depending on what time it is where you are because this post is a BIG one!!!
You have the chance to win some amazing prizes too .... just by hopping along and leaving comments along the way .... more about that later.
All of the Design Team have been busy creating a feast of inspiration for you using the new stamp sets, and it's all on show for you in this blog hop. Follow the links at the end of this post and see what they've been up to .... and don't forget to leave your comments. We'd love to hear what you think of the new stamps .... I think you're going to love them as much as we do?
There's 6 brand new sets ...... and something for everyone.
Pretty little delicate Dandelion heads, and the Succulents are just so cute!Just look at all those sentiments too ......
Born to be Wild is a great set for guys, and the words on the Smile set are so useful. Love the large fonts!
There's even a little Christmas in there too ..... time to make a start on all Christmas cards!!
OK .... you've seen the stamps, now for some ideas.
WARNING...... photo heavy!!
Let's start with Dandelion Wishes
(By the way ..... the new sets are all available to buy now on the Happy Little Stampers website)
CAS ..... stamp the flower heads over pretty inked backgrounds. This was a piece of card I found in my bit box which I think has been smooshed with Distress ink, spritzed with Perfect Pearls
I added a touch of fine glitter to the dandelions just for a bit of sparkle ......
and finished off with one of the sentiments from the set
You may of already seen the next one on Friday's Blog post (I sneaked one in early ... ooops!) It was done using the same stamps ...... but a totally different look ....
One of my favourites now ...... Perfectly Succulent This is so cute!!
Great little images to use in aperture cards maybe ....
Use dies or punches to make your apertures ......
The images are so easy to colour ......
I used foam pads to give a bit more dimension.
All of the words are from the stamp set too .... love this font!
Don't just keep your stamps for the front of your cards .... use them on the inside too
How about this for a bit of fun .......
Sorry .... I couldn't resist adding the googly eyes!
He dances too ..... a little piece of folded acetate to make a sort of spring ...... love it!
Mix and match your stamp sets ..... they all work so well together
The words are from Smile! and look, there's those Succulents again ......
I think I need to treat myself to a new pot of Clear embossing powder .... this one has been contaminated with a little bit of white I think ...... ooops!
Back to CAS, and another leftover piece of card ... stenciled this time, but perfect for using with the new Smile words
Sometimes a simple word says it all .....
Why not make tags too .....
Still with me? Great ...... three more sets to go!
Next up is Born to Be Wild ..... how about this for all those men in your life, or kids designs, especially teenagers I think.
Go wild with your backgrounds ...... I used Distress Stains here, straight from the bottle. Simply remove the top, and smash the sponge (technical term there) down onto your cardstock to get these great splatters .... love it (Top Tip ...... don't wear your best t-shirt when you're doing this ...... !!)
I did stamp the zebra first and created a mask before I added the colour ..... just look at that face!
Another aperture card ...... with another crazy background
Various colours of Distress Oxides just splattered onto the background using an old paintbrush ..... easy and fun to do!
An aperture cut in the front for the lion to peep through whilst the card is closed .....
And then when you open it up .....
Open it up again and there's more on the inside too ......
You can tell I love the whole of this new release .... each set is so much fun to use.
And it's never too early to make a start on those Christmas cards you know .......
Pretty sparkly snowflakes from the Let it Snow set ....... love white ink on Kraft card.
And a really cute CAS design using Merry Kissmas
Phew!! We made it to the end. Congratulations if you're still with me ...... I hope you like what you've seen. How long is the shopping list?
Time to hop along and catch up with the rest of the DT ..... and don't forget about the prizes up for grabs.
Here's how to win ......
- Leave a comment on this blog post
- Follow the links below to the HLS post and the rest of the DT posts and leave comments there too
- The Blog Hop will run for 1 week ..... from 12th March @ 6am AEST (that's 8pm 11th March GMT) until 6am on the 19th March AEST (that's 8pm on March 18th GMT)
- Have fun and enjoy!
There's a whopping 10 prizes up for grabs. ALL the winners will be chosen randomly, and you MUST comment on ALL of the Blogs involved in the Hop
Happy Hopping!!
Linda (you are here)
Thanks for popping by .... enjoy the rest of your day and the Blog Hop.
It's been Mother's Day today in the UK so a very Happy Mother's Day to all you lovely mum's out there. I hope you've all had a fabulous day.
I was treated to a lovely Sunday lunch out with the whole family. Now it's time to put my feet up, relax,and enjoy one of my birthday presents ........
Cheers!
Cheerio until next time ....
Subscribe to:
Posts (Atom)