Showing posts with label Stencil Medium. Show all posts

Tuesday, 15 November 2022

Oh Christmas Tree, Oh Christmas Tree ........

Happy Tuesday ..........

I've been at it again, batch making Christmas cards that is ...... well there are only 40 days to go before the big day!!!!!

Now you know me, I do love a nice Christmas tree and yes, it is almost time to get those baubles out and start decorating! (Carol, if you're reading this, there will be a Christmas tree up for our crafty get together next weekend ........ fingers crossed!) 

Anyway ......... speaking of Christmas trees, here's a beauty.  One of the latest stencil designs from Sweet Poppy ...... the gorgeous new Fir Tree


It is a large stencil but, as I always say, you don't have to make large cards.  These are 7x5 inches (my go to card size), and I think it looks great.

This was the sample I did for the TV show last month ...... I love it!  So CAS, I just had to make more. 


I used the Sweet Poppy Stencil Medium in the Pearlescent White through the stencil and then sprinkled over with Fine Crystal glitters whilst the paste was wet, and left them to dry naturally.


A few little sparkly gems added here and there, and a star on the top ......


All finished off with embossed sentiments.


Here are a few more ideas done last month for the TV show, using this fab stencil .......


Here's the tree full size ..... it's so pretty!
I used the stencil medium again, this time sprinkled with green glitter and then I fussy cut the tree once it was dry, and used fom pads to attach it to my card


A few gold and silver ink splatters on the background, dots of glitter glue for the baubles to decorate the tree, and a tub for it to sit in on the bottom ..... very festive!


Same stencil ..... used this time to create a little winter scene.
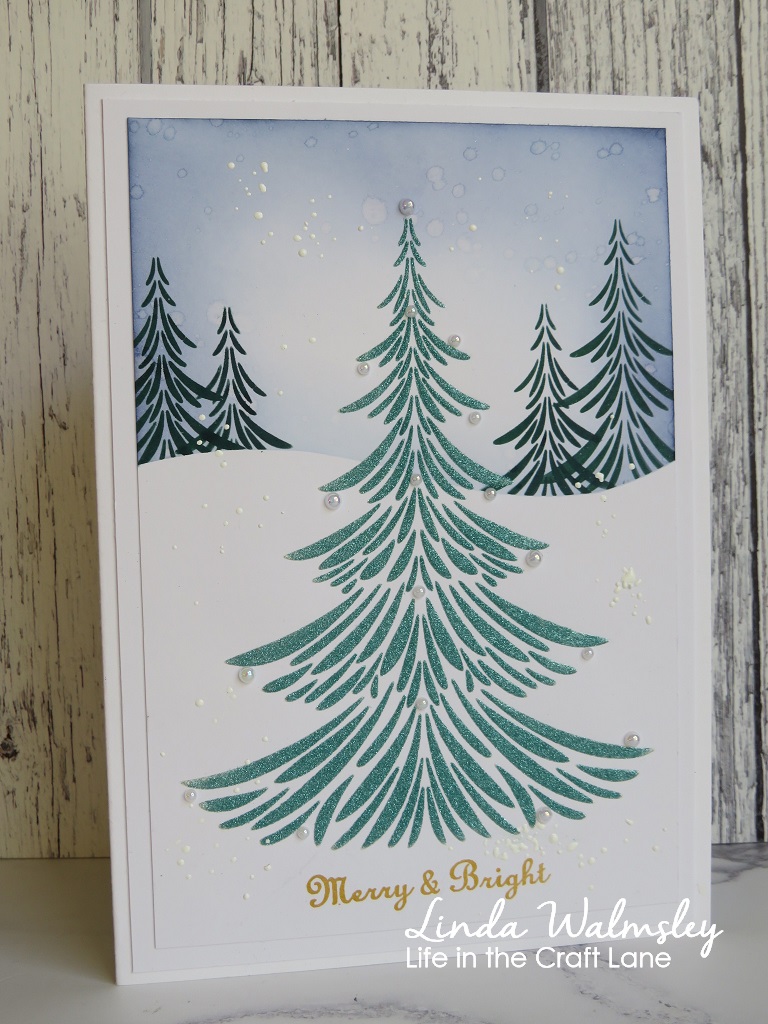

Just by using a little bit of masking you can alter the size of the tree, and create a little forest scene in the background .........


 adding the full size tree in the centre


Large trees not your thing? ....... then just mask off the bottom of the stencil ....... make the tree a size to suit you


This looks so cute ....... and it's one layer, so perfect for posting!

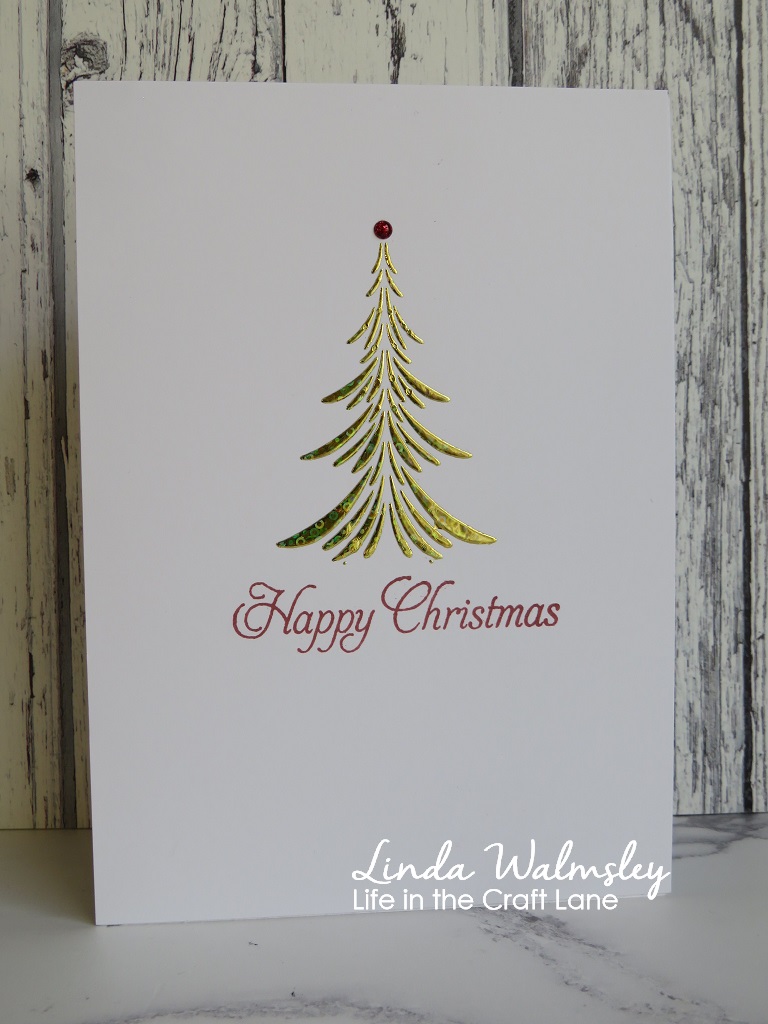
I simply used a bit of masking tape to cover the bottom the part of the stencil, before using the stencil medium.  I left it overnight to dry completely, then I used foil over the stenciled design and ran it through a laminator.  
Quick tip - if you're using foil on your stenciled designs, before you apply the foil, carefully dust around the edges of your design with an anti-static bag, being a bit careful not to get the dust on the stencil medium.  This avoids the foil sticking where you don't want it.    If  this does happen though, you can remove the foil by gently using a sand eraser (check them out on Amazon, they're not expensive)


A simple gem on the top of the tree, and a sentiment stamped underneath ...... done!


I love it when it's time to put the Christmas tree up, and it's almost here ...... whoo hoo!! 
A few new baubles have already been bought, and I'm already thinking of where to put the trees.  
I am a little nervous though ...... this year we have a little one who is now very mobile, and is into everything.  Christmas is going to be fun this year! 


Thanks for popping by ..... enjoy the rest of your day.

Cheerio until next time .......

Wednesday, 15 June 2022

Bee Happy ........

Happy Wednesday to you ........

It's hard to believe we're half way through June already ........ this month really is flying by.
We're having some great weather here too ..... summer has arrived early!

The middle of the month means it's time to remind you about the latest CAS Mix Up challenge.
After a little 3 month break we're all back in action again with a Stencil Challenge. 
Loll is our host this month and she would like us to use Pastes and/or Gels along with our stencils.


If you're not sure about using pastes or gels, then check out the CAS Mix Up Blog for some really useful video links, and of course, lots of inspiration from the Design Team and, our fabulous Guest Designers Julie and Darnell, who are joining us this month.

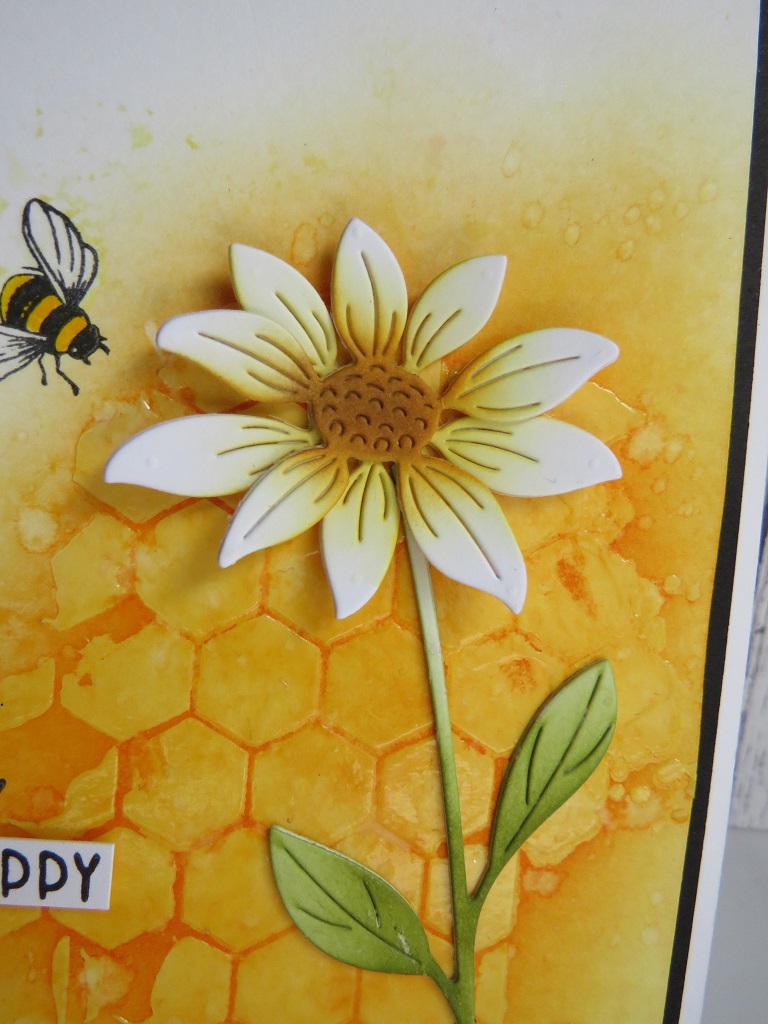
I've used a translucent paste for my card today ...... it goes on white and then dries clear so that you can still see what's underneath ...... in this case the first layer of Distress Ink that I started my background with


I smooshed Mustard Seed Distress Ink onto a craft mat, spritzed with water and then pounced a piece of white cardstock into the ink, concentrating on one corner of the card only to make sure I kept plenty of white space on there.
I dried this off with a heat tool and then using a honeycomb stencil I applied the translucent paste over the top of the ink and left it to dry.


It doesn't take long to dry and it gives this lovely glossy finish.

Next, I blended Spiced Marmalade Distress Ink over the stenciled area to bring out all the detail of the honeycomb design


See how the yellow underneath still shows through ........ love it!!

I then used the Etched Layered Daisy Stem die from Simon Says Stamp to add the flower.  
I simply cut the three pieces from white cardstock, applied a little ink to the stem and the flower centre and then attached the pieces to the front of my card


I love the detail in this die, it's so pretty!

Of course there had to be a little bee on there ...... stamped and coloured with ZIG markers


And I finished off with a two piece sentiment ...... half stamped onto the card front, and half added on a snippet of cardstock


I can't wait to see all the challenge entries in the gallery ...... it's great to be back!

Happy crafting!

Thanks for popping by ...... enjoy the rest of your day.

Sorry it's quiet here on the blog lately, the old mojo still isn't what it should be.  Plus, it has been a bit full on around here recently.
What with holidays, the TT, and lots of family stuff going on, I just can't seem to settle in the craft room at all.  This nice weather we're having at the moment isn't helping either, I just want to be outside!

Speaking of holidays, we're off again at the weekend ...... Scotland this time, in the motorhome, so I've spent the last few days sorting that out.  
I do all the inside stuff ...... cleaning etc., stocking the cupboards and the fridge, making sure there's clothes in there, and that we have everything we're likely to need,  then hubby does the outside.  
So he's in charge of the fuel, the gas bottles,  emptying the loo!!!! and ringing the very nice man who cleans it for us!

So, we're going to Loch Lomond, Loch Ness, the Isle of Mull, and Fort William.  It's going to be a fun trip, I love Scotland and we haven't been up there since 2019.  We're also meeting up with a friend towards the end of the trip which will be nice.

We're also off out this evening for a Masterclass on Portugese Wines ....... should be interesting.
I'd better get ready!

Cheerio until next time .........


Supplies
Stencils: Honeycomb stencil (Memory Box - not sure if this is still available)
Stamps: Bee (Lavinia Stamps); sentiment Bee You (Altenew)
Inks: Distres Ink - Mustard Seed, Spiced Marmalade,  Gathered Twigs, Peeled Paint; Versafine Clair - Nocture
Other: Translucent Stencil Medium (Sweet Poppy), Etched Layered Daisyb Stem Die (Simon Says Stamp); ZIG Clean Color Brush Markers