Showing posts with label WOW embossing powders. Show all posts

Thursday, 28 September 2023

Happy Birthday Jenny .........

Happy Thursday ......... I think!

It's been a funny old week, not sure what day it's been for most of it ...... Wednesday was Thursday, I thought today was Friday, roll on the weekend!!

I have been in my craft room though, which is a good thing.  
It took me a while to get anything done because, after the big tidy up a few weeks ago I couldn't remember where anything was!  I'll get there, eventually.  
It was also a bit weird having hubby in there too (did I mention we're now sharing an office!!)  

Anyway, I had a very special card to make (even made a box for it too!) because, one of my lovely crafty friends had a very special birthday earlier this week .......
 

Yes, it was Jenny's 80th birthday ....... WOW!  so you can understand why it had to be a special card.

It's 8x8 inches finished size (not a size I make very often) and I couldn't find any 8x8 envelopes (goodness knows where I've put those!!!) hence the box.

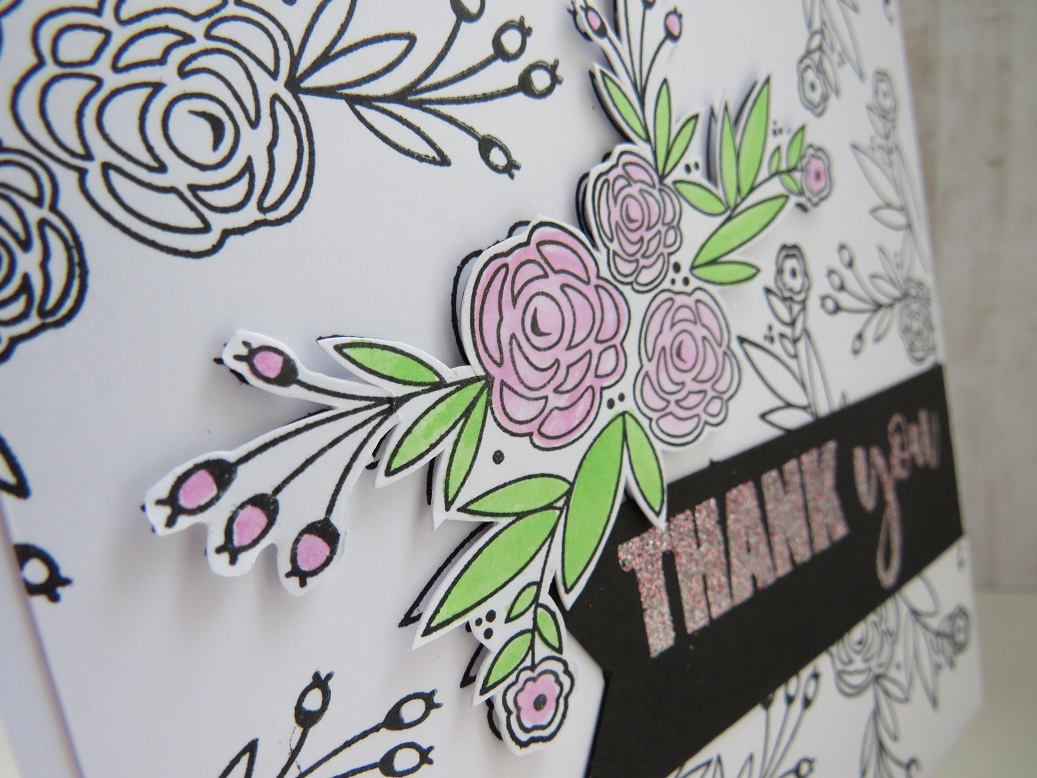
I used the pretty Blooming Branch stamp set from Pink Fresh Studio.  Stamped and heat embossed in gold onto white cardstock and then coloured using Distress Inks and a water brush.


I stamped and coloured the image a few times, and then cut them out using the co-ordinating cutting die


I stamped my greeting in the centre of a piece of white cardstock


and then arranged the die cuts around the edges to form a frame, overlapping them in places to add a touch of depth and dimension


Once I was happy with the arrangement,  I attached the die cuts using foam pads and then trimmed off the excess around the edges, keeping any larger pieces that I cut off.  I did a bit of matting and layering before attaching the panel to the front of my cardblank.

A few splatters of gold ink and some pretty gemstones finished off the front nicely.


Inside the card, I stamped and coloured the pretty floral branch again and I also used one of the die cut pieces I'd trimmed from the front of the card


I was so pleased when I actually remembered how to make a box ....... first attempt too!!  


I kept things clean and simple, but matched the card perfectly!

Can I just say, I'm loving the new Polished Embossing Powders from WOW!, they are soooo shiny!  They come in Gold and Silver, Regular and Super Fine and they are gorgeous! If you love your heat embossing, you need to try them.

Well that's it for now.  
Thanks for popping by ...... enjoy the rest of your day.

Cheerio until next time .......


Monday, 15 February 2021

CAS Mix Up Challenge ........

Happy Monday ..........

How was your weekend?  Not long enough ..... I know how you feel!
But we're at the start of another week and, as we're half way through February already it's time to remind you about this month's CAS Mix Up Challenge  .......


The lovely Nancy is our host for February and the theme for this month is ..... Stencil Heat Embossing
If you haven't tried this before give it a go, it's so much fun.  Check out the CAS Mix Up Blog for some fabulous links to videos showing you ways of using this technique.

We've all done heat embossing with stamps but, it's also a great way of achieving a different look using with your stencils. 


This was so simply to do ..... I've stenciled the vase and then heat embossed to give a nice textured look, completely different than using just ink through the stencil.

I stamped the flowers first and added a touch of colour using ZIG markers and a waterbrush to blend the colour


I then took my vase stencil, placed it over the bottom of the flowers and used Versamark ink through the design.
I removed the stencil and sprinkled embossing powder over the top and heat set in the usual way ......


I love the result, the powder is made up of different sized grains, and different colours and gives a fabulous textured look ..... I love it!!

I grounded the vase with a little ZIG marker, and added a simple sentiment to finish off.


The challenge is open until Feb 24th so there's still time to play along if you fancy giving this technique a try. 

Thanks for popping by ..... enjoy the rest of your day.

Cheerio until next time .......


Products used:
Stencil: Vase stencil (Clarity)
Stamps: Flower Medley, Special Sentiments (Penny Black)
Inks: Versafine Clair - Nocturne; Versamark ink; Delicata Metallic Pigment ink - Golden Glitz
Other: Black Magic Embossing Powder (WOW!);  ZIG Clean Color Brush Markers

Thursday, 16 August 2018

Introducing ....... So Much

Happy Thursday .......

Welcome to the the first day of introductions for the brand new release from Uniko Studio.
Today we're taking a closer look at just one of the brand new stamp sets which will be available very shortly on the Uniko Website.

Some of you may already be familiar with this gorgeous mini stamp set ......


It's called ....... So Much, and it was the Limited Edition Freebie with the December Release, back in 2017.
For all those that didn't get their hands on this set back then, it officially becomes available to purchase on Sunday August 19th ...... not long to wait!

I love this little set, the floral spray is so pretty and the words are really useful too.
Here's a simple design for you ...... classic black and white with just a hint of colour


I've stamped the floral spray repeatedly over a piece of white cardstock using a Black Versafine ink


I stamped the image again onto a snippet of card, added colour using ZIG Markers and then fussy cut around it, leaving just a tiny white border around the edge.
If you don't like to fussy cut you can always just add colour to one of the stamped images to get the same effect.  My tip would be ....... just choose where you want your coloured one to be and stamp that first


I stamped my greeting onto a piece of black cardstock and heat embossed with a pretty sparkly pink embossing powder from the WOW range


I added foam pads to the back of the fussy cut flowers and attached it directly over the top of one of the stamped images on my card.  I like the way it overhangs the sentiment banner


I can see this little stamp set becoming a firm favourite.
Check out the Uniko Blog today for more inspiration using these pretty stamps from the rest of the Design Team, and I'll be back tomorrow with more from the new release.

Thanks for popping by .... enjoy the rest of your day.

Cheerio until next time ....