Monday 25 November 2019

I'm on the Uniko Blog today .......

Happy Monday ........

I hope you've had a lovely weekend.
After the busy week we had ours was a quiet one.  I did manage to get some online Christmas shopping done ..... couldn't resist all the Black Friday offers out there.  And I also made a start on getting the house ready for the festive decorations ..... the trees WILL be going up next weekend!!!

I'm over on the Uniko Studio Blog today.
If you're like me, and still have lots of Christmas cards to make, I have a couple of tone on tone ideas for you using one of the stamp sets from the last Uniko release ....


Grab a cuppa and pop over to the Uniko Blog if you fancy a closer look.

Thanks for stopping by ..... have a great week.
I'm spending mine in the craft room ..... apparently shop bought Christmas cards are not an option!

One of my favourite photos from last week ........


Someone enjoyed the Christmas lights switch on last week ....... and their visit to Wine Down for dinner afterwards!

Cheerio until next time ......

Thursday 21 November 2019

More from Sweet Poppy Stencils ........

Happy Thursday ......

Aaaaand ........ breathe! 
What a busy morning.  I was up and out early ..... the usual stuff in town, and a quick stop off to get my nails done. Well, we're off out again this evening and after the workshop at the weekend they were not looking good! All sorted now though ....... they're a nice festive shade of red.

Did you catch Lucy on the TV at 12 with Sweet Poppy Stencils?  I made sure I was back home in time. 
Don't worry if you missed the show, she's back again at 4pm this afternoon and I'm sure that the shows will be available on rewind too.

Here's a couple more of my samples using the new stencil designs ......

My festive spirit is definitely here ....... everything looks like a Christmas tree!!!
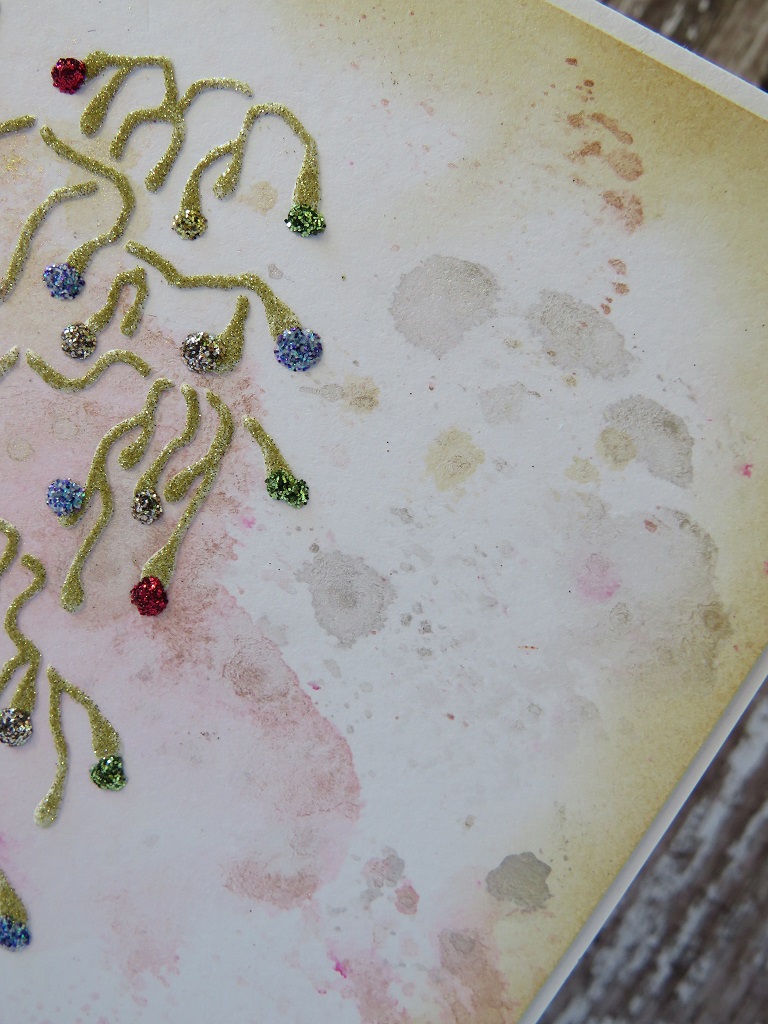
This one's a bit quirky and it's not acutally a Christmas stencil but, I think it works.  Lucy called it the 'Grinch tree' ..... perfect!


I used the new Twisted Vines stencil with white stencil paste and then sprinkled over the top with some fine crystal glitters

I added a few dots of glitter glue here and there, or you could use gems, to decorate the tree .....


And gave it a tub to sit in, with my sentiment stamped either side.


A few splatters of gold and silver ink add a bit more interest to the background.

Another new design was the pretty Tree of Faith ........ again not necessarily for Christmas but hey! why not.


I used the white paste again through the stencil onto a piece of mop up card from my stash.
I don't like wasting inks or paints so, I always clean my craft mat by mopping up any leftovers with pieces of spare cardstock.  It's a great way of making backgrounds.
This particular one was Delicata metallic inks ......  gold, silver and rose gold ..... so pretty and shimmery .......


I sprinkled the tree with fine crystal glitters and added dots of glitter glue to give the look of fairy lights


A touch of Distress Oxide Ink to create a little bit of a landscape to ground the tree ......


and I stamped the cute little Lavinia hare on the bottom, and finished with a sentiment.

Last of my samples, but definitley not least ...... the Octopus.  He's amazing!


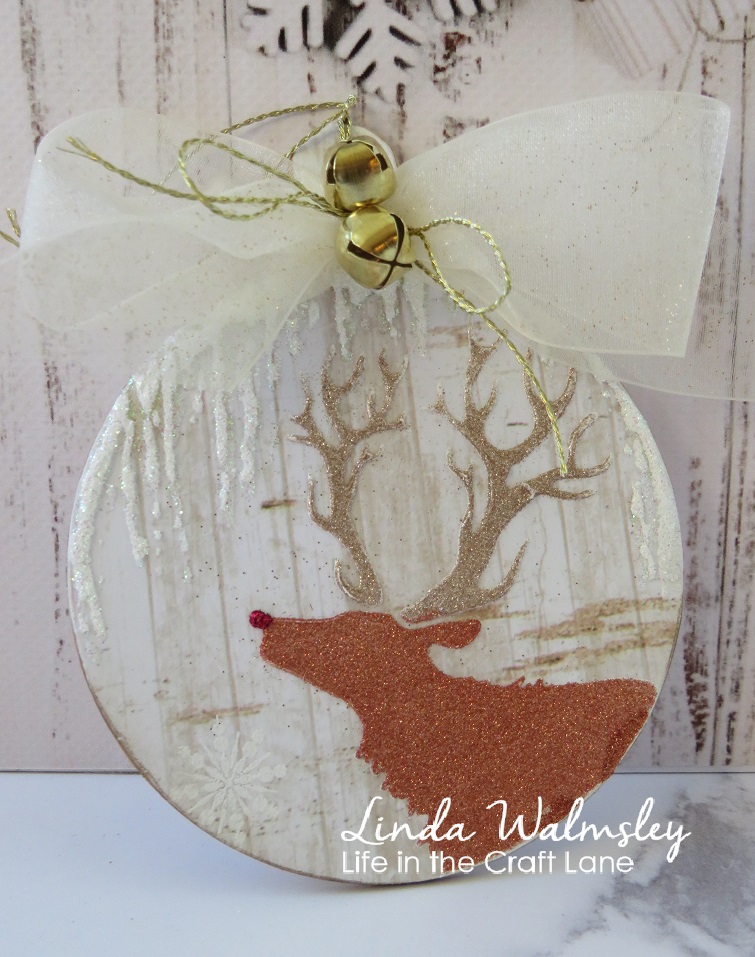
Like the stag in yesterdays post, he's big! 
He looks fabulous done with inks.  Lucy used the mica powders with the stencil paste earlier, and I've used the Clear Glass Micro beads on mine ...... whatever takes your fancy!

I started with a gelli plate background from my stash, and stenciled the octopus over the top using various shades of  Distress Inks


After cleaning off the stencil I placed it back over the design and applied the Translucent Paste.  Whilst the paste was still wet I sprinkled over the top with the Clear Glass Micro Beads and left it to dry


I love the shimmer and the texture you get when using the micro beads, they also seem to intensify the colour underneath too ..... gorgeous!

I used the bubble section on the stencil to add some detail to the back ground layer


and also added a few dots of crystal glaze and fine glitter


I finished off with the perfect sentiment and highlighted around the octopus with a little Stardust Gel Pen.

Enjoy the show at 4pm.  I'll be watching.

It's the big Christmas lights switch on in Douglas this evening and late night shopping starts.
We're wrapping up warm and taking the little man to see the lights, but the shopping bit can wait, we have other plans.

It's actually Beaujolais Nouveau day ...... ooh la la!!   Yes you've guessed it .... Wine Down (our favourite little place) are having a special menu to celebrate.  It would be such a shame to miss it!

Thanks for popping by ...... enjoy your Thursday.

Cheerio until next time .....


Products used:
Stencils: Twisted Vines, Tree of Faith. Octopus (Sweet Poppy)
Inks: Delicata Golden Glitz, Silvery Shimmer inks; Distress Oxide Ink -  Vintage Photo; Distress Inks - Chipped Sapphire, Faded Jeans, Stormy Sky, Peacock Feathers
Stamps: Just Words - Noel Clear stamp set, Hugs & Kisses A7 clear stamp set (Sweet Poppy); Whimsical Hares (Lavinia)
Others: Glossy White & Translucent Stencil Pastes; Fine Crystal Glitters; Glass Micro Beads (Sweet Poppy); Red and Gold Glitter Glue, Clear Crystal Glaze (Nuvo), Stardust Gel pen

Wednesday 20 November 2019

Book the sofa and the remote control ....... Sweet Poppy Stencils are back on our TV screens

Happy Wednesday evening .......

I'm in a festive mood again today.
I've been out doing a bit of Christmas shopping with Lauren.   I bought a few nice stocking fillers,  and some new baubles for the Christmas tree ......... because we need those!!!   
We even managed a festive sandwich and cappuccino while we were out ..... the new Irish Velvet in Costa is dee - licious.  The turkey and all the trimmings sandwich wasn't bad either!!!!

Speaking of Christmas ...... have you got all your cards made?  Are you still looking for some festive inspiration maybe? 
Well ....... why not tune in to Hochanda tomorrow (Thursday 21st November).  The lovely Lucy and Sweet Poppy Stencils are back on our TV screens .......12 noon and again at 4pm.

There's some gorgeous new stencil designs ........ along with a few favourites.  There'll be stamps, stencil pastes, glitters and lots of other fabulous stuff.  And of course, a whole load of inspiration and ideas on how to get the most from your Sweet Poppy stash.

Here's a quick look of some of the samples I made using one of the new stencils ....... the stunning  Winter Stag, how gorgeous is this guy!


It's quite a big stencil so great for making those larger sized cards, but how about making a piece of home decor. 
This is simply the stencil, done with white paste on black cardstock and then I've added a mixture of glitters and glass micro beads over the top.


A simple sentiment stamped and heat embossed .....


I then placed it inside a white box frame. 
I dry brushed the frame with a little bit of gold acrylic paint to give it a more distressed look, and added a couple of MDF snowflakes that I'd decorated with white texture paste and glitter


Even though this is a large stencil, you can still use it to make smaller cards ......


This is a 7x5 inch card.  I used a gelli plate background, white paste through the stencil and lots of crystal glitter.

Once the paste was dry I carefully cut around the outer circle.

I stamped the top of the bauble onto my cardblank and heat embossed in silver, added the bow in white and doodled on the 'chain'


I then attached the stag onto the card, off the edge at the side and the bottom and trimmed off the excess


I added a few touches of glitter glue to finish off.

Another idea is to use just the stag.  Mask off all the foliage and frame around him and he's the perfect size for Christmas tags ...... 


I used Distress Oxide Inks onto a background from my stash  ......


Added a touch of glitter here and there, some White Enamel Accents to give a snowy look and a simple greeting ......


He looks great on MDF baubles too .......


Again, mask off the bits you don't need, use the stencil paste and then sprinkle with glitter


I used some patterened paper for the background and then added white enamel accents sprinkled with lots of glitter to give an icy look


I've decorated the back using one of the new Sweet Poppy sentiment stamps .....


but, you could use these as gift tags, just write your message on the back instead.

Tune in tomorrow for lots of tips and techniques, and more festive ideas.

Where ......... Hochanda (Sky channel 673/Freesat 817/Freeview 85)
When .........Thursday 21st November
What time ........ 12 noon and 4pm

Thanks for popping by ..... enjoy the rest of your evening.

Cheerio until next time ......


Products used:
Stencils: Winter Stag, (Sweet Poppy)
Inks: Versamark; Delicata Golden Glitz/ Silver Shimmer; Gathered Twigs/Chipped Sapphire Distress Oxide inks; Versafine Clair - Nocturne;
Stamps: Bauble stamp from my stash; Joy & Peace, Noel; Warm Winter Wishes (Sweet Poppy)
Others: White Box Frame, MDF Snowflakes (from my stash); White texture paste; Glitters (Sweet Poppy); Glossy white stencil paste (Sweet Poppy); Gold/Silver/White Embossing Powders (WOW!); Stardust Gel Pen; White Enamel Accents, Stickles Glitter Glues - various colours

Tuesday 19 November 2019

The last workshop of the year .......

Happy Tuesday .......

Oh well ..... I think the festive spirit is finally kicking in.  I maybe a little on the early side even for me but ...... I've just put the first of the Christmas decorations up.  Ho! Ho! Ho!
We're having a family get together this evening so I thought it might be nice to have a few sparkling lights .....


Speaking of Christmas, it was the last workshop of the year at the weekend. It was Christmas sweaters, mince pies and chocolates, and Mr Buble playing in the background ...... yes you've guessed it, it was the Christmas one!

This year's project was a pretty 3D MDF Sledge.
A beautiful decoration for the window maybe, a centrepiece for the festive table to hold a Christmas candle, or even something to hang on the wall.

Just look at the finished results .......


Here's a few close ups ......


They were all painted with acrylic paints, with a little bit of rubber stamping here and there


And then decorated with lots of festive greenery, sparkle and snow


Berries, baubles and pine cones .......


We even had a festive robin ......


It was a nice way to end the workshop year, although it's not our last get together of 2019, we have our little Christmas party to come yet.  I need to go hunting for a Secret Santa gift now!

Speaking of parties we had a great one on Saturday night. 
Lauren had arranged a secret party for her other half, Robbie, to celebrate his BIG birthday!


Hubby and I had arranged dinner for them at our favourite place ..... although that did mean that we had to go somewhere else (it was OK for Dad to foot the bill, we just couldn't be there!) ...... it was his birthday I suppose!!
Then it was on to the Bath & Bottle in town where everyone was waiting for the birthday boy to arrive ...... cocktails all round!


Happy Birthday Robbie ...... old enough now to know better, but still young enough to get away with it!

Thanks for popping by ...... enjoy the rest of your day.
I suppose I'd better get tonights dinner on, they'll all be here soon ........ it's not going to cook itself!!

Cheerio until next time .......
Products used:
Large 3D MDF Sledge from Anna Marie Designs
All other products from my stash