
I hope you've had a nice day. It's been lovely here ..... cold, but at least the sun was shining.
And, I managed to get all my jobs done in town which was great.
It's time for a reminder about this month's CAS Mix Up Challenge.
It's the last challenge of the year, the DT are having a break in December so that we can catch up on all our festive preparations.

The theme for November's challenge is ..... Oxidised Metal and is hosted by Susan.
We also have a fab Guest Designer too ...... Arlene (Sundaystamper Papercrafts) is joining in the fun so be sure to pop by and say Hello!
So ....... Oxidised Metal? Have you tried this technique? I must say, it was pretty new to me.
If you haven't tried it yet, check out the CAS Mix Up Blog for links to some great video tutorials on how to create this fab finish.

I used Alcohol Inks onto silver mirri card, heat embossed with a clear powder, and then die cut my fir trees from the finished piece

I love the effect ..... not easy to photograph though!

I added a touch of crystal glitter to the tops of the trees.
To make the card I used a stencil with some white texture paste sprinkled with crystal glitter to create the snowy background.

I then die cut the trees again from white cardstock and layered the metal effect ones over the top.
I love this die (Memory Box) because it cuts out those gorgeous trees, and keeps the bottom part of the card attached allowing you to create little winter scenes.

I stamped my sentiment on the bottom and then attached the piece over my snowy background using foam pads, and then finsihed with a touch of glitter along the edge.

Here's another CAS design using an oxidised metal effect die cut ...... I think I'm hooked on this technique now!

I used a mop up piece of card from my stash for the background ....... it's simply Golden Glizt Delicata ink mopped up off my craft mat
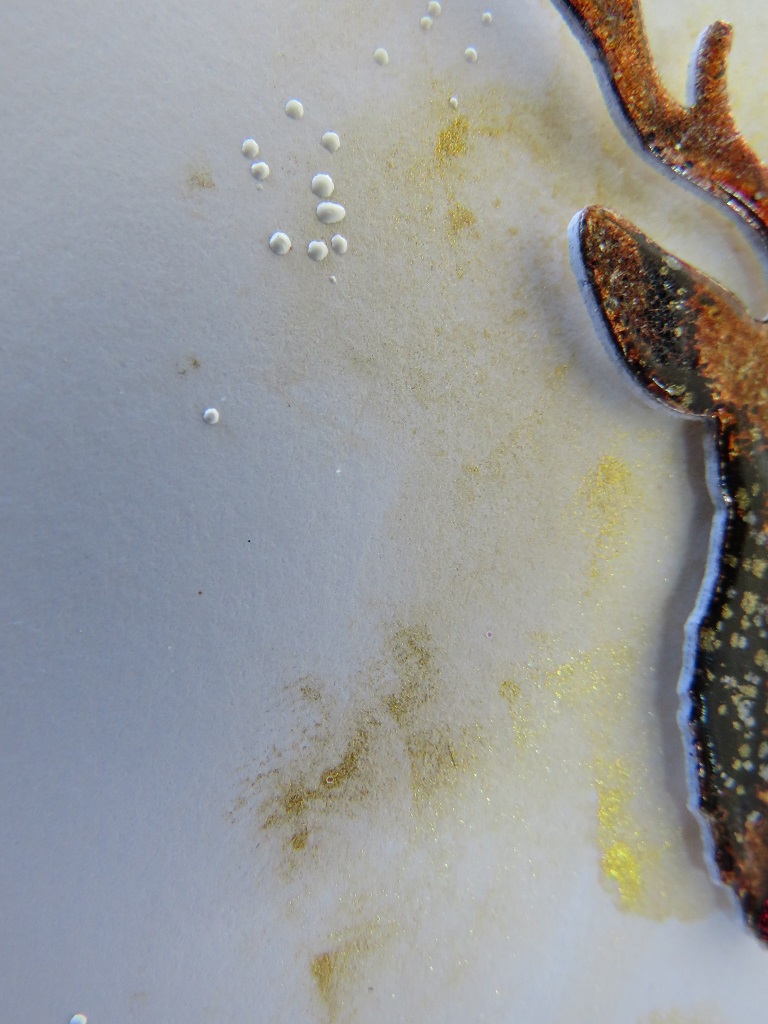
I used a piece of gold mirri card and alcohol inks to create the oxidised metal effect, and then sprinkled on some Black Magic Embossing Powder from WOW!, just a little here and there, before swiping over the whole thing with a Versamark pad and heat embossed again using a clear powder this time

I then die cut the stag from the card, and again from white card and then layered them together and attached them to my card front usng foam pads
Here's a close up of the embossing powder ...... note the added red nose too!

A sprinkling of Chunky White Embossing Powder on the background and a simple sentiment

I'm linking up this card with the Happy Little Stampers CAS Challenge, where the theme is ..... 'tis the Season
I hope you give the Oxidised Metal Effect a try, it really is fun to do.
Thanks for popping by ..... enjoy the rest of your day, and have a lovely weekend.
I've got a Christmas workshop tomorrow, and then we're out in the evening ...... dinner in town followed by a 'surprise' birthday gathering.
Things are starting to get a little busy now in the run up to the festive season, so the Christmas workshop is a little earlier than normal. Here's a sneaky peek at the project ......


Products used:
Card 1
Stamps: Christmas Cheer (Penny Black T for Transparent); Christmas Sentiments(Inkylicious)
Inks: Delicata - Golden Glitz; Alcohol inks (Ranger) - Patina, Mermaid, Pebble
Others: Silver Mirri card; Alpine Trees die (Memory Box); Falling Snow stencil (Sweet Pea Designs); White Texture Paste; Fine Crystal Glitter
Card 2
Stamps: Christmas Sentiments(Inkylicious)
Inks: Delicata - Golden Glitz (mop up); Versafine Clair - Nocturne; Alcohol inks - Terracotta, Slate, Sepia, Raisin
Others: Gold Mirri card, Stag die (not sure what brand this is ... sorry!); Chunky White Embossing Powder(Stampendous); Cranberry Stickles Glitter Glue


