Showing posts with label Distress Oxides. Show all posts

Friday, 13 October 2023

Coral and Blue for the Color Hues Challenge .......

Happy Friday the 13th .........

The weekend is almost here ... yeah!!  Not that we've anything planned, it's very quiet around here at the moment.

today I'm playing along with another Blog Challenge, on the last minute again! (I think it closes today so I'd better get a move on) 

It's the Color Hues Challenge, and it's a colour combination that I don't use very often but, I must admit I quite like it


What do you think? ......


I used Distress Oxide Inks ...... Prize Ribbon (blue) and Abandoned Coral,


The stamps I used are Background Blocks Layered Modern Floral from Uniko ....... a really cute little two step stamping set, that looks great whatever colours you use.

I used a piece of low tack masking tape across the bottom of the card to give me the diagonal edge while I stamped the flowers and leaves. 


I did attach a thin strip of blue card along the edge though, just to give it a more finished look.

I used the blue Distress Oxide to colour the die cut 'happy' and stamped the rest of my sentiment underneath with the coral oxide ...... I do like this colour combo.

Whilst I was in the craft room, I noticed that the pretty Darcy Bouquet Embossing Folder from Simon Says Stamp was still out on my desk.  Hmmm ..... I wonder what that would look like if I used blue cardstock for the background, and tried out the matching dies with some coral card .....


Not bad!
The detail on this embossing folder is gorgeous, and the dies were easy enough to use.
I slightly off set a  couple of the die cut flower heads to add a bit more depth, and then attached my sentiment banner over the top.


Pretty navy pearls finish everything off nicely!


Thanks for popping by, I've enjoyed my time in the craft room this week.  Lets hope it continues.

Have a lovely weekend.
I think on Sunday it's just 10 weeks to Christmas ..... eeek!!  I think I might have to start on some more Christmas cards next week.

Cheerio until next time ......

Friday, 24 June 2022

It's a Heilen Coooo .......

Happy Friday ........

I hope you're well, and looking forward to the weekend. Have you got anything nice planned?

We're still enjoying our Scottish motorhome adventure.   
After three lovely nights on the banks of Loch Lomond we left on Wednesday morning and drove to Oban over on the west coast of Scotland.   We then took a ferry across to the Isle of Mull ...... it was a bit breezy, but luckily the waters were very calm.   
We've been staying on a lovely campsite about halfway up the north coast of Mull at a place called Salen Bay.  It's beautiful ...... we're pitched right on the edge overlooking the Sound of Mull.  I'll share some pictures with you later.

There's still time to play along with this month's Sweet Poppy Challenge over on the Simply Sweet Poppy Stencils Facebook Page
There's a whopping £40 voucher for the challenge winner to spend on Sweet Poppy goodies.  And guess what ....... the brand new Christmas release is available from today on pre-order, so it would definitely come in handy for that.

The theme is ......... Just for Him.  We want to see cards perfect for those fabulous men in our lives!
As we're in Scotland, I couldn't resist using this fun Sweet Poppy Stencil ...... Isla - the Highland Cow, or Heilen Coo as they're known around here.


I do love this stencil, and it's perfect for masculine cards.

I used various colours of Distress Oxide ink through the stencil onto a piece of Kraft card. Oxides work so well on coloured cardstock, you just need to build up the depth of colour slowly.


I added a few black ink splatters onto the background, and blended a little ink around the edges of the card


before adding the sentiment on the bottom ........


The challenge is open until the 29th of the month so get those stencils out!  Remember they do have to be Sweet Poppy stencils though.


Thanks for popping by ..... enjoy the rest of your day.

For those of you following our Scottish adventure here's a few pictures from the last couple of days.
We're on Salen Bay Campsite ...... todays view from the front of the van


A little breezy, but the sun is shining!

Yesterday we hopped on a local bus and took a trip up to Tobermory ...... the weather was a bit cloudy and grey but it was lovely and warm.


We had a nice walk around the town, did a bit of shopping, and found a lovely restaurant for lunch ....... 


One of my favourites ....... a delicious seafood pie (yum!)


Then we finished the afternoon off with a trip to the local whisky distillery for a tasting ....... or two


The perfect end to the day was to watch the sunset over the Sound of Mull, with a wee dram .......


Cheers!

We're on the move again tomorrow.  We're on the early morning ferry back to Oban then we're driving up to Loch Ness ...... maybe I'll see Nessie!

Cheerio until next time .....


Supplies
Stencil: Isla - the Highland Cow (Sweet Poppy Stencils)
Stamps: One for the Boys stamp set (Woodware)
Ink: Distress Oxide Inks - Gathered Twigs, Ground Espresso, Aged Mahogany, Antique Linen, Crackling Campfire; Distress Ink - Black Soot 
Other: Black Fine liner pen for the eyes 

Monday, 18 November 2019

A quick reminder for the CAS Stencil challenge .......

Happy Monday ......

I hope you've all had a nice weekend ...... I'm still getting over mine! (more about that later)

It's time to give you a little reminder of this month's CAS Stencil Challenge ...... the last one of 2019!


I'm your host this month and the theme is .......... Stencil Monoprinting
This is such a great technique to do, the DT are really having fun with it.
Simply apply your inks, or paints etc., directly onto your stencil, spritz with water and then place the inky side of your stencil onto your card and print the design ..... easy!
It's also a great way of using up any ink on your stencils when you've been using them in the traditional way ....... don't just wipe it all off with a cloth, give it a spritz with water and print onto a piece of card.  Great for making backgrounds!

I've used a Tim Holtz stencil here with Distress Oxide Inks ........ these work really well for this technique


I smooshed the ink over the whole of the stencil, spritzed well with water and then placed the stencil onto a piece of watercolour card. 
I laid a paper towel over the top to mop up any excess ink. and gently smoothed over the stencil to make sure that the ink spread over the whole of the design


Carefully remove the stencil, mop up any excess ink and leave to dry.
You're not always going to get a clean, crisp finish ...... it does happen, it depends on the cardstock, how much ink you've used, how much water, even the stencil design. 
I like the grungy, not quite perfect look but, that's just me!

Once the ink had dried I used a glue pen over the petals of the poinsettia flowers, and then sprinkled over the top with some clear crystal glitter


A few dots of gold glitter glue for the centres.

To add a bit more interest to the card I decided to cut the poinsettia panel in two, and instead of cutting straight across, I went with a bit of an angle.


I die cut part of my sentiment, once from white cardstock and once from gold mirri. Layered the two together and placed it in between the two panels.  The rest of the sentiment I stamped and added underneath.

Here's another card made using the same technique, and the same ink (DOXs), just a different stencil


I did everything exactly the same, except I used Mixed Media cardstock, and I got a much crisper finish on this one.


You never know what results you're going to get and I think that's all part of the fun of this technique!

Check out the CAS Stencil Blog for more fabulous Monoprinting ideas from the rest of the DT, and our lovely Guest Designer ...... Lucie (LucieG Cards)

Happy stenciling!

Thanks for popping by .... enjoy the rest of your day.

We had our first frost this morning ....... I looked out the window at 7.30am and everywhere was white over, it all looked so pretty!  Not so nice when Hubby had to de-ice the car before he left for work though ..... Winter is coming!

Cheerio until next time .....

Products used:
Card 1
Stencils: Poinsettia stencil (Tim Holtz)
Stamps: Christmas Cheer (Simon Says Stamp) 
Inks: Distress Oxide Inks - Aged Mahogany  
Other: merry die , gold mirri card, white card, Clear Rock Candy Glitter (Ranger); Gold stickles Glitter Glue

Card 2 
Stencils: Roses Layering stencil (Tim Holtz)
Stamps: Simple Strips (Taylored Expressions) 
Inks: Distress Oxide Inks - Aged Mahogany, Rusty Hinge, Peeled Paint 
Other: Stitched Wonly Rectangles die (STAMPorations), Gold Twine, Clear Crystal Glaze (Nuvo)

Thursday, 31 October 2019

Finished at last!!! .......

Happy Halloween ...... or Hop tu Naa as it's known in the Isle of Man,


I hope you're having a good week. 
Things are a little less busy here ........ thank goodness.  Although saying that, it's November tomorrow, and we all know what happens at the start of a new month ........ lots of Blog challenges, so you'll be hearing from me quite a bit in the next few days.
I'll also try and catch up with all my Blog visiting too.   I do apologise if I haven't made it over to see you yet ..... I will get there, I promise! I don't want to miss anything!

It's been a nice week actually .... the weather's been good, although I think all that's about to change.  I was in town this morning and it was a little bit cold and grey.   Fingers crossed it stays fine for this evening ....... there's a little velociraptor that's looking forward to going Trick or Treating (I've had to stuff a tail this morning ..... but we won't go into all that!)

Last weekend was workshop weekend ...... the last of the calendar pages  Whoo hoo!!!
Not everyone could make it unfortunately but, the ones that were there finished all three pages. 
I'm so proud of them, they've all worked so hard over the last few months to get their calendars finished and I think they were all pleased with the results ........ here's a little look at some of their favourite pages .......


Sorry but I can't remember which page belongs to who but there's ...... Carol W, Carol J, Lyn, Mandy, Jenny and Ruby.  Well done, your calendars all look amazing!

We had just three pages to do.  On the two calendars I've been doing I had August left ...... we used stamping and simple masking techniques, watercolouring and acetate smooshing.


November ........ I'm loving these new large stamps from the Colorado Craft Company.
More masking, this time masking off the background to add colour to the leaves using Distress inks


I also did some stamping with different coloured inks ...... very autumnal!


And we finished with October .......


The calendars have been a big project but, I do think it's been worth it.

The final workshop of the year is in November ...... and it's Christmas themed ..... Ho! Ho! Ho!
I just need to get a move on with my finished sample.

Thanks for popping by ..... enjoy the rest of your day, and have a fabulous Halloween or Hop tu Naa
Happy trick or treating!

See you in November! ........


Products used:
Stamps: Butterflies, Sentiments (Inkylicious); Elements of Style (SU! - discontinued);Handpicked Bouquet (Altenew); Big & Bold Oak Leaves & Acorns, Jack-o-Lantern (Colorado Craft Company); Trendy Leaves (STAMPlorations); Maple Leaf (Clarity)  
Inks: Various colours of Distress Inks and Distress Oxides; Versafine Clair - Nocturne
Others: 2020 A4 Calendar (Papermill Direct); Clear embossing powder, Gold Embossing Powder (WOW!); 

Thursday, 25 July 2019

Day 4 ...... Introducing WILD clear stamp set & Animal Print Stencils

Happy Thursday .......

It's the final day of introductions for the new Uniko release.
I hope you've enjoyed seeing the new stamps and stencils ...... how's the shopping list coming along?

Today we're taking a walk on the wild side so, if you're a bit of a party animal, or you love your animal prints then these could be perfect for you!

The last of the new release stamps ........... Wild 
Another fab little set of words to create your own sentiments (love the little paw print too!)

This goes perfectly longside three more fab new stencil designs ........ Tiger Print

Zebra Print .......


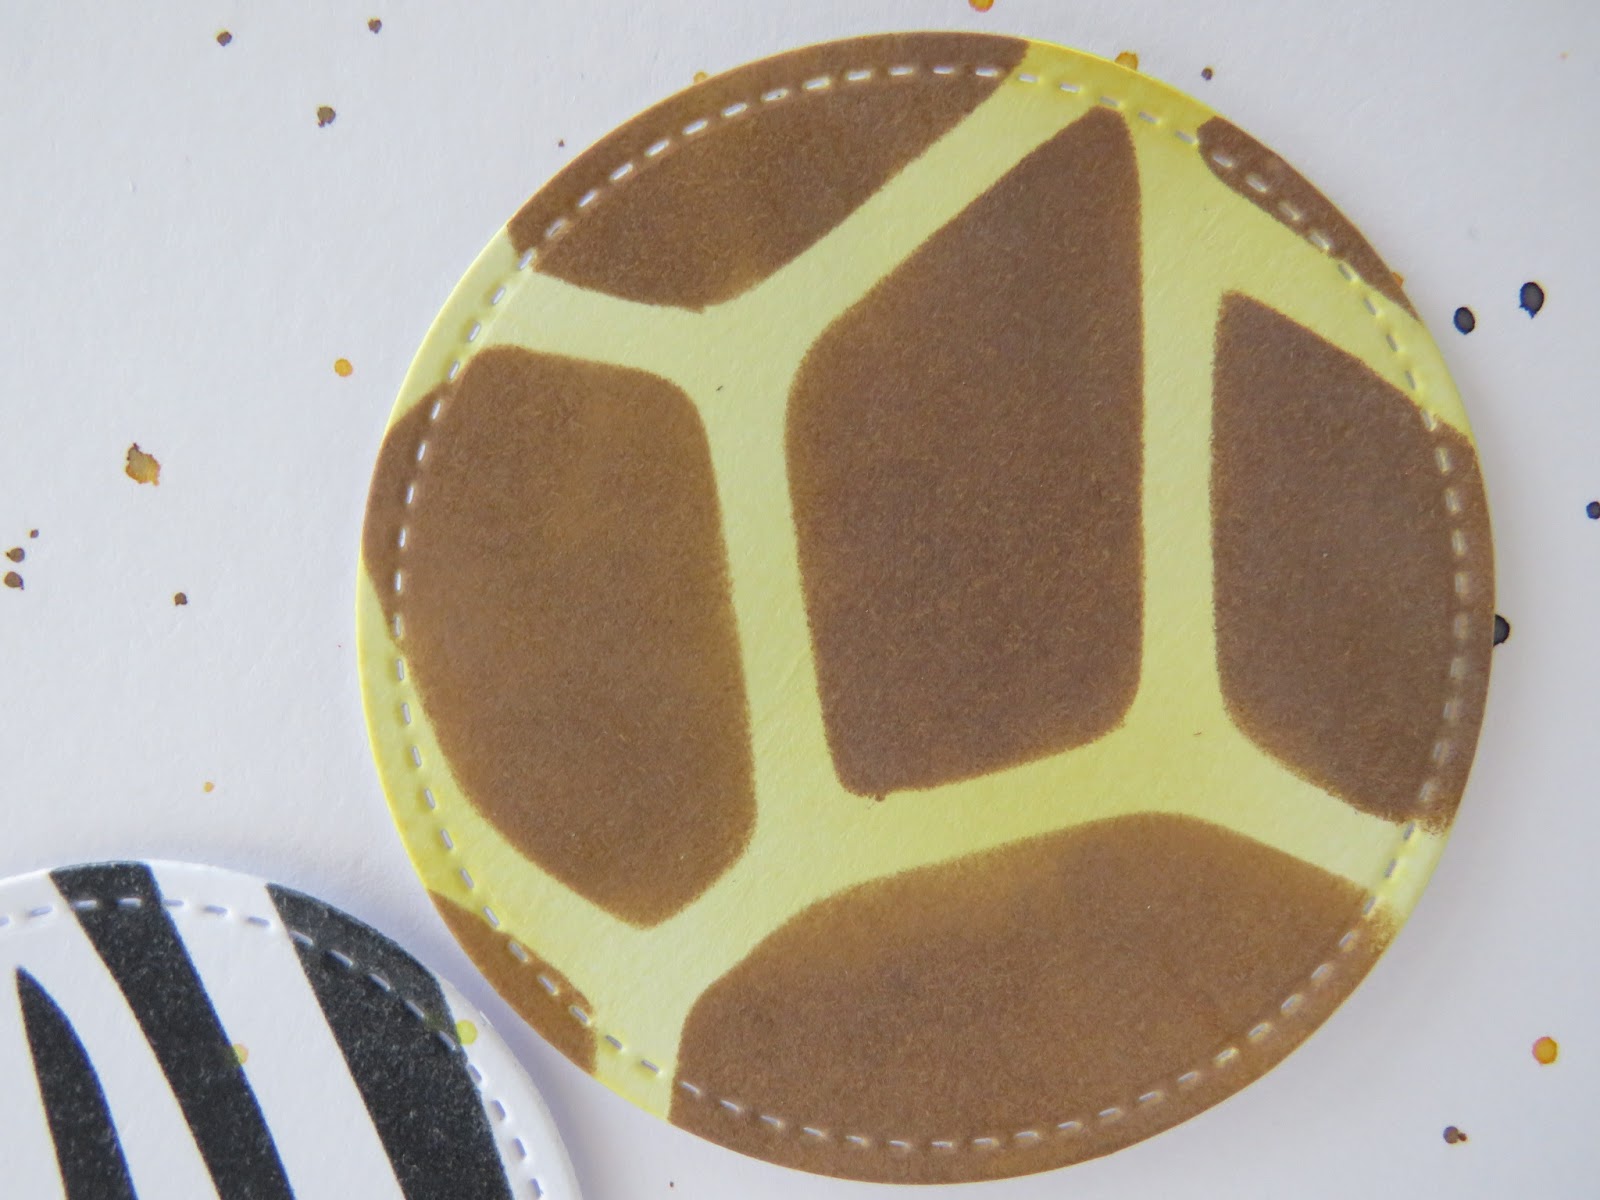
and finally Giraffe Print ..... how cool are these!


It's really quick and easy to create statement cards ........


I simply blended two shades of ink onto a white cardblank, starting from the top and working my way down.


I placed the stencil over the top and used two shades of brown Distress Oxides to add the animal print.

I stamped the sentiment on the bottom .......


and used a gold sparkle pen to colour in the word 'wild'


It really was a hard decision, which of the stencils to use so, why not use all three .....


I die cut three circles ..... coloured one as before using the Tiger print stencil


on one I used the Zebra print ......


and on the last one the Giraffe.


I stamped the sentiment and coloured the word 'wild' using ZIG markers andf then outlined each letter with a Stardust Gel Pen


A few splatters of ink add the finishing touch ......... grrrrrr!!!!

Well that's it, you've seen everything from the new release.
Check out what the rest of the DT have been up to using these fab new products, and don't forget to pop by and see Keren our lovely Guest Designer too.

If you really need, or just have to have, any of what you've seen you don't have too much longer wait.  It all becomes available on the Uniko website tomorrow evening.  That's 26th August at 9pm (GMT)
There'll also be the usual Uniko New Release Design Team Blog Hop & GIVEAWAY.  That starts at 9am tomorrow morning and the prize is huge!

See you then!

Thanks for popping by ...... enjoy the rest of your day.
We're off out this evening.  We're going to a local restaurant for tea (Alex's choice) and then we're off to the cinema to watch The Lion King ...... I can't wait!

Cheerio until next time ......


Products used:
Stamps: Wild Clear stamp set (Uniko)
Inks: Catherine Pooler inks - Tiki Torch, Tiara; Distress Oxides - gathered twigs, ground espresso; Versafine Clair - Nocturne
Others: Tiger Print, Zebra Print & Giraffe Print stencils (Uniko); Gold Sparkle pen (Nuvo); Stitched Circle Dies (Stampin Up!); ZIG Clean Color Brush Markers