It's a bit of a chilly one here. We've had our first frost this morning ......... brrrrrr! Winter is coming!
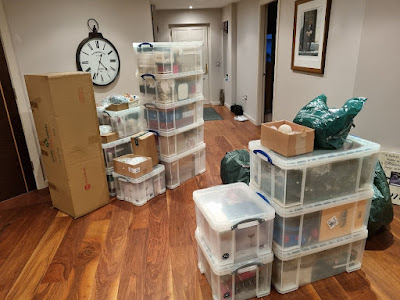
Did you have a nice weekend? It was a bit of a quiet one here so I decided to round up all the Christmas decorations ready to make a start on the trees.
Ooops! It looks like the day we moved in, again ...... there's boxes everywhere!
Have we really got that many baubles ..........
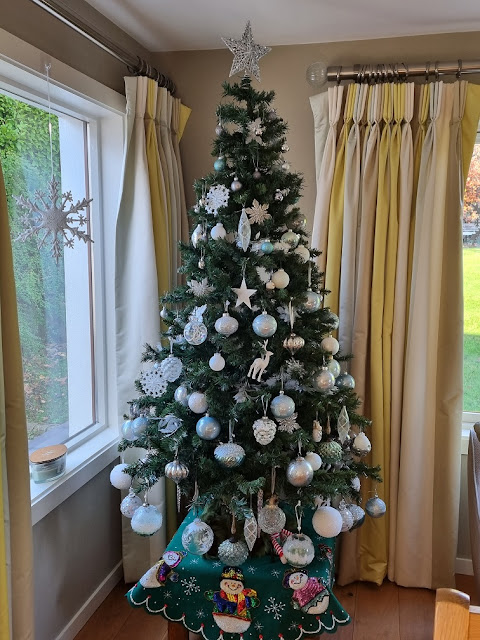
I did make a start ...... the first tree was up in no time and not a bauble in sight

Looking at it in the daylight it might just need a few extras here and there.
Anyway, enough of the trees, I've got two cards to share with you for the final challenges this year at CAS Mix Up and CAS Christmas

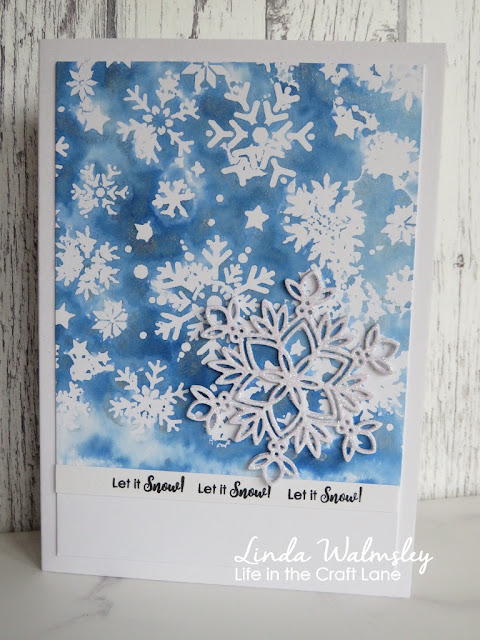
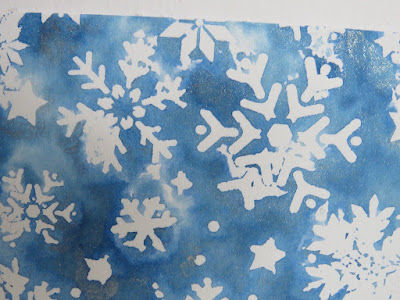
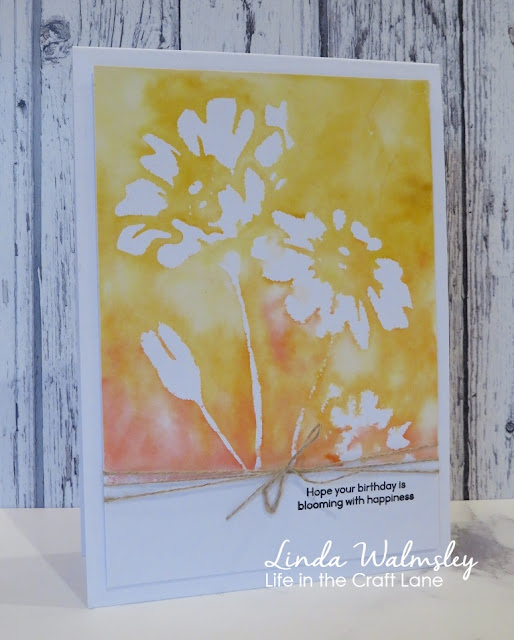
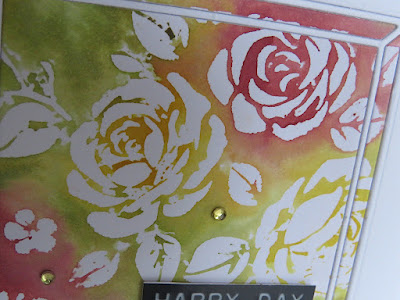
Here's a really quick and easy card using a stencil monoprint that I found in my stash, along with a pretty frame die from Penny Black
The print was done by applying Distress Inks directly from the ink pad onto the stencil, spritzing with a little water, and then laying the inky stencil down onto a piece of watercolour card.

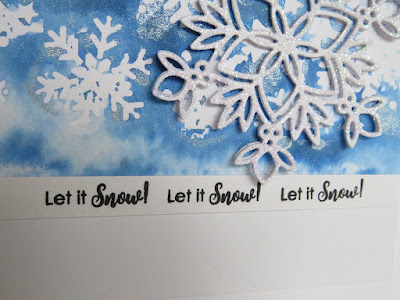
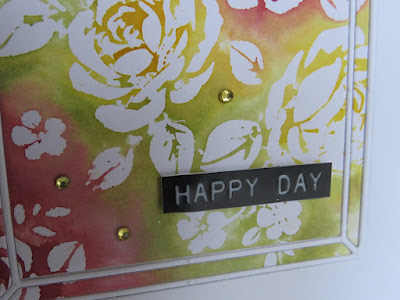
I mounted this on a larger square cardblank, added a simple sentiment and a few sparkly gemstones.


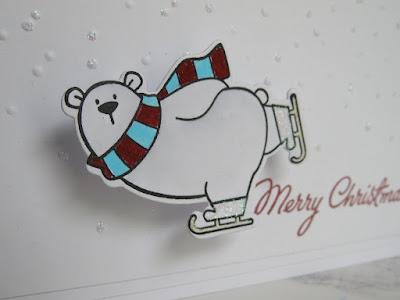
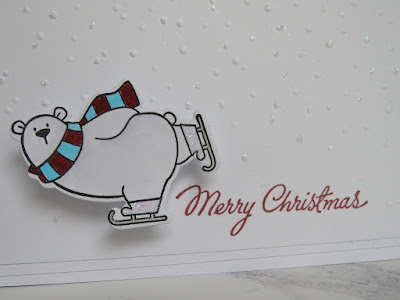
Added some colour using ZIG Markers ....... stamped my sentiment on the bottom of the card and attached the polar bear off to the side
CAS Mix Up is a Stencil challenge this month with the theme .....Stencil Monoprinting
The print was done by applying Distress Inks directly from the ink pad onto the stencil, spritzing with a little water, and then laying the inky stencil down onto a piece of watercolour card.
Mop up any excess ink, gently lift the stencil, and voila!! One piece of pretty printed cardstock.
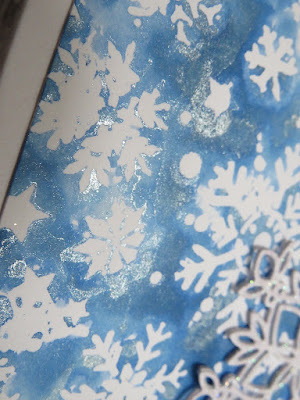
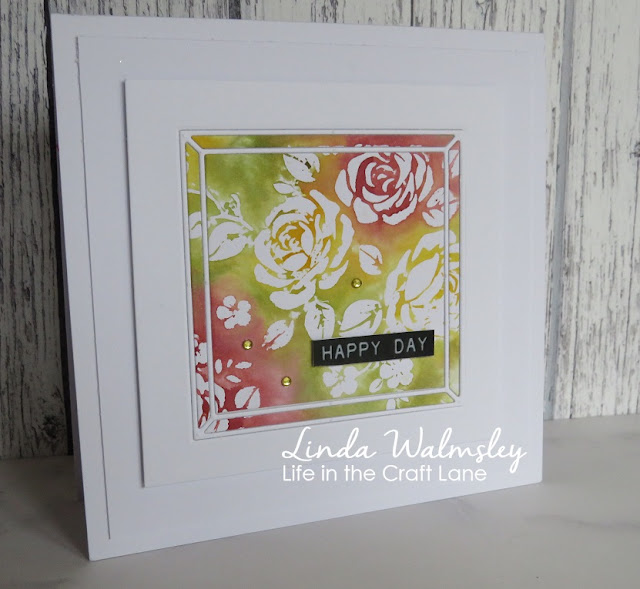
I used the Penny Black die to ........ a) cut out the frame from the centre of a square of white card, and b) to cut the frame from the printed card.
I then placed the white die cut frame back into the square card and inlaid the coloured pieces to create the complete square.
I mounted this on a larger square cardblank, added a simple sentiment and a few sparkly gemstones.
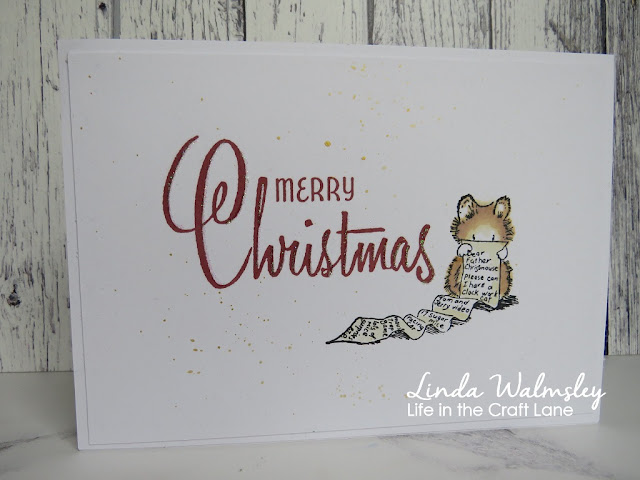
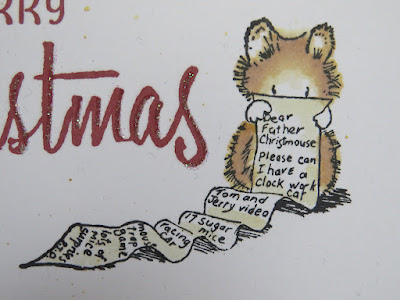
CAS Christmas is all about ...... Christmas Critters
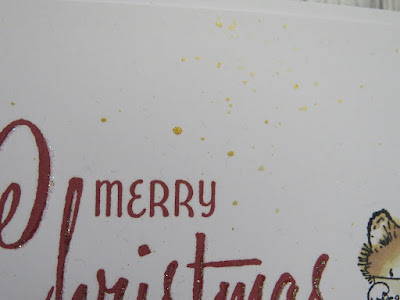
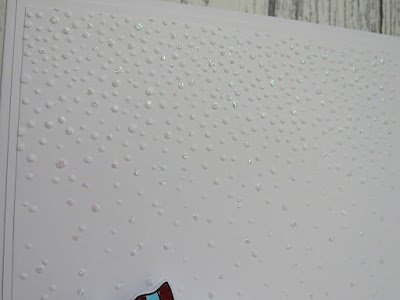
You can't get much more CAS. The background was an embossing folder with just a touch of added glitter
Stamped and die cut this little guy ......
Another Christmas card done!
Thanks for popping by ..... enjoy the rest of your day.
It's time to sort through those boxes and get another tree done I think ......... are you ready Mr Buble!?
Cheerio until next time ........

Products used:
Products used:
CAS Mix Up
Stencil: Floral Layering Stencil (Tim Holtz)
Inks: Distress Inks - Aged Mahogany, Peeled Paint, Mustard Seed
Other: Framed die (Penny Black); Sentiment Strip (Simon Says Stamp); Self adhesive gems
CAS Christmas
Stamps: Polar Bear Pals (My Favourite Things); Christmas Time 3 (Tim Holtz) - for the sentiment
Inks: Versafine Clair - Nocturne; Versafine - Crimson Red
Others: Polar Bear Pals Die-namics (My Favourite Things); Quickie Glue Pen; Fine Crystal Glitter; ZIG Clean Color Brush Markers