Showing posts with label Christmas cards. Show all posts

Thursday, 7 December 2023

It's that time of year again .......

Happy Thursday ........

How are you?  Full of the festive spirit yet?  
We're getting there.  This bug is still hanging on by a thread but, it will not beat me!!
Lists have been made (lots of lists!)  The shopping has started (note to self ..... I need to buy wrapping paper). 
I think I've eaten my body weight in mince pies (the diet starts in January ..... again!). I've tried the odd Christmas cocktail (or two ...... hic!) And,  I'm still making Christmas cards!


I guess he had to come out at some point now didn't he ...... my favourite little snowman.  I'm not even sure he's still available to buy.  He's an old wooden stamp from Inkadinkadoo, and every year I have to use him on at least one card ....... he always makes me smile 😊

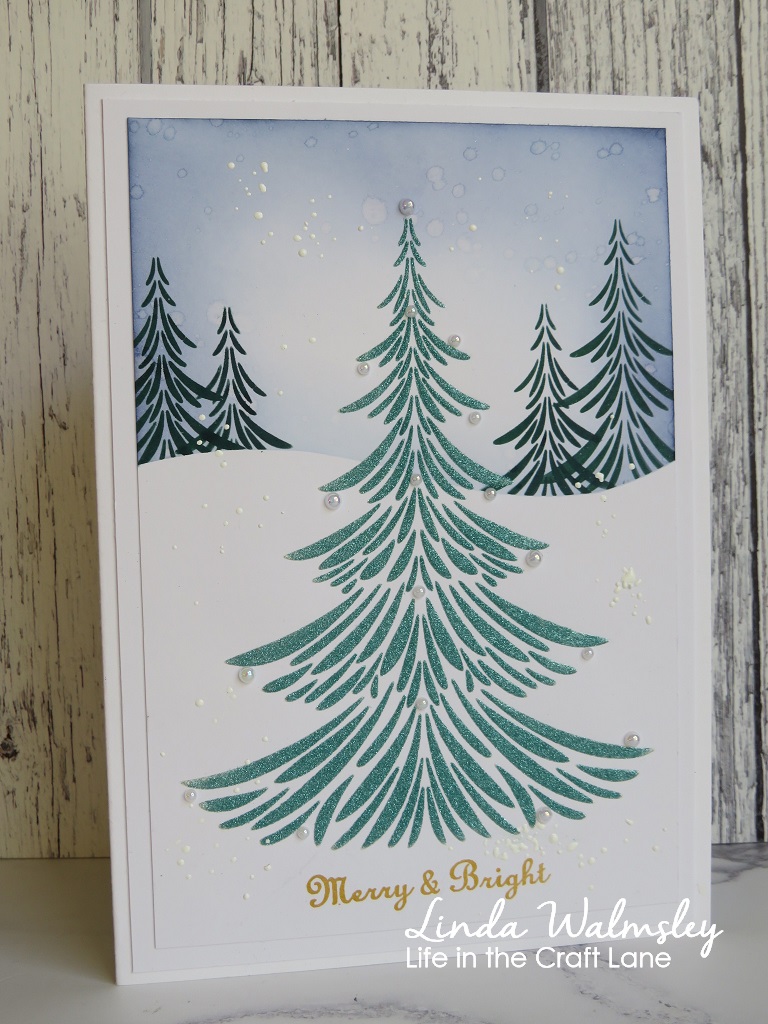
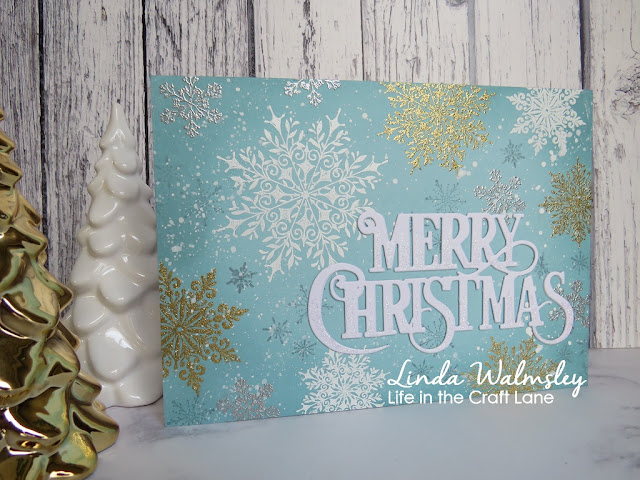
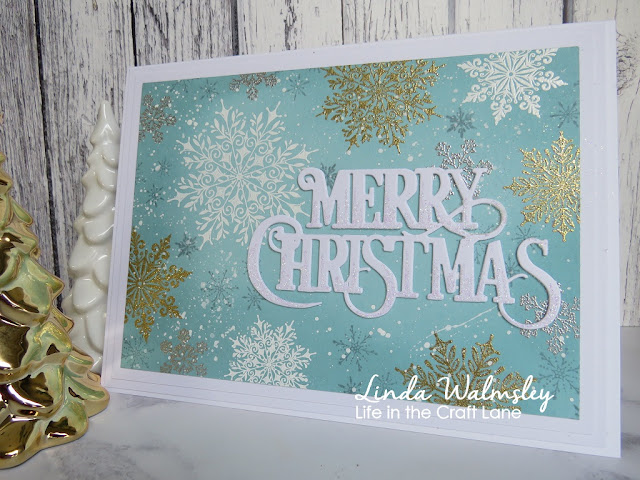
I stamped the snowman onto a piece of white cardstock.  Masked around the edges to create a frame, and then slowly blended shades of blue Distress Inks inside to create my night sky


Once I was happy with the colour, I splattered the ink with a little bit of clean water and let it sit for a few seconds.
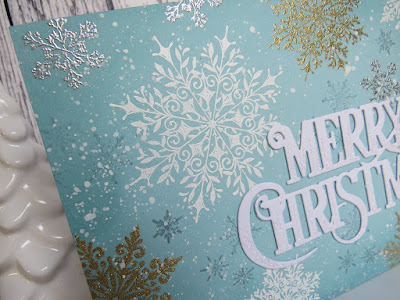
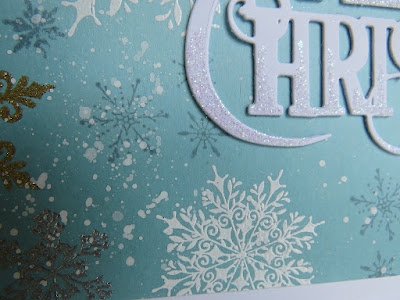
I mopped up the excess with a paper towel and then added a few dots of white Enamel Accents here and there, sprinkled with a touch of fine crystal glitter, to give it a snowy look


The snowman was coloured using brush markers ..... he's so cute!


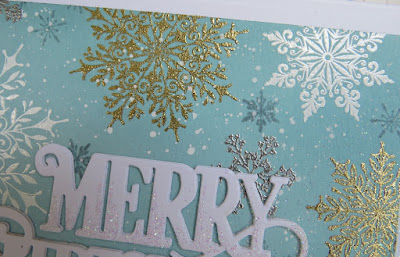
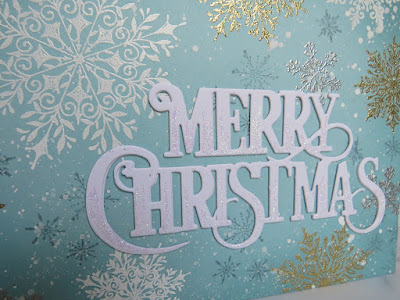
And I finished off with a heat embossed sentiment and a touch more 'snow'


Speaking of snow, I've loved seeing all the pictures on Facebook of the snow across in the UK at the moment.  We might have even been in some of it had we gone on our trip ........ brrrrr!
If you're snowed in at the moment, stay safe and warm.

Thanks for popping by, enjoy the rest of your day.

Cheerio until next time ........


Thursday, 24 November 2022

The final Simply Sweet Poppy Facebook Challenge ..........

Happy Thursday ..........

I hope you're all well. It's very wet and blowing a hoolie here, not the weather we wanted for the Christmas Lights switch on in Douglas this evening.  Think we'll give it a miss if it stays like this, and I might just switch on my own Christmas lights and decorate another tree ....... a bit early I know but there's already one up in the hall!! 

If you're a fan of the Simply Sweet Poppy Stencils Facebook Challenge then time is running out to get your entry in for this, the final challenge .......... The Magic of Christmas!.  

As always, there's a £40 voucher for the winner to spend on the Sweet Poppy website.  Just follow the simple rules .........  use only Sweet Poppy stencils, keep any stamping to a minimum, and stick to the challenge theme ...... easy!

So, what makes Christmas magic for you?  

It's got to be family and friends for me, and I love all the trees and decorations .........


For this card, I used the Sweet Poppy Snowflake Tree (at least I think that's what its called ...... I can't find it on the website so unfortunately I think it may have been retired, which is a shame as it's a lovely tree.  There are other gorgeous designs on there that you could use instead)

I used Pearlescent White Stencil Medium onto black cardstock, sitting the stencil off the edge of my card


Once the paste was dry, I used a blue Stardust gel pen to add colour to the ribbon.
I also used a glue pen to add glitter to the snowflakes ...... looks so pretty and sparkly in real life.


I finished off with white paint splatters on the background and a simple heat embossed sentiment


Next up, baubles!  You can never have enough baubles on your tree!


I'm so sorry but, I think this stencil is also retired, or it may just be out of stock, because I couldn't see this on the website either ........ maybe I should check the website first, before I make my cards!!!!!

Anyway ...... I used the paste again, this time when it was dry I added some rainbow coloured foil over the stenciled design, and then ran it through my laminator


I added some crytal glitter to give sparkly highlights (and also disguise where the foil hadn't quite covered completely!) 


And I finished off with some white paint spatters and a festive sentiment 


The challenge is open until the 29th of the month so there's only a few days left to get those entries in.

Happy stenciling!

Thanks for popping by ..... enjoy the rest of your day.
We might have another tree up this evening, we'll see how things go today.
I've got my crafty bunch coming at the weekend and the deal was, I had to have a tree up as it's probably our last crafty get together before Christmas.

Well ....... I did it.  There is a tree up, only took me five and a half hours!    


It still needs a few more baubles on it though.  I'm sure it grows every year!!!  I'll have to see what I can do before weekend!

Cheerio until next time .......

Tuesday, 15 November 2022

Oh Christmas Tree, Oh Christmas Tree ........

Happy Tuesday ..........

I've been at it again, batch making Christmas cards that is ...... well there are only 40 days to go before the big day!!!!!

Now you know me, I do love a nice Christmas tree and yes, it is almost time to get those baubles out and start decorating! (Carol, if you're reading this, there will be a Christmas tree up for our crafty get together next weekend ........ fingers crossed!) 

Anyway ......... speaking of Christmas trees, here's a beauty.  One of the latest stencil designs from Sweet Poppy ...... the gorgeous new Fir Tree


It is a large stencil but, as I always say, you don't have to make large cards.  These are 7x5 inches (my go to card size), and I think it looks great.

This was the sample I did for the TV show last month ...... I love it!  So CAS, I just had to make more. 


I used the Sweet Poppy Stencil Medium in the Pearlescent White through the stencil and then sprinkled over with Fine Crystal glitters whilst the paste was wet, and left them to dry naturally.


A few little sparkly gems added here and there, and a star on the top ......


All finished off with embossed sentiments.


Here are a few more ideas done last month for the TV show, using this fab stencil .......


Here's the tree full size ..... it's so pretty!
I used the stencil medium again, this time sprinkled with green glitter and then I fussy cut the tree once it was dry, and used fom pads to attach it to my card


A few gold and silver ink splatters on the background, dots of glitter glue for the baubles to decorate the tree, and a tub for it to sit in on the bottom ..... very festive!


Same stencil ..... used this time to create a little winter scene.


Just by using a little bit of masking you can alter the size of the tree, and create a little forest scene in the background .........


 adding the full size tree in the centre


Large trees not your thing? ....... then just mask off the bottom of the stencil ....... make the tree a size to suit you


This looks so cute ....... and it's one layer, so perfect for posting!

I simply used a bit of masking tape to cover the bottom the part of the stencil, before using the stencil medium.  I left it overnight to dry completely, then I used foil over the stenciled design and ran it through a laminator.  
Quick tip - if you're using foil on your stenciled designs, before you apply the foil, carefully dust around the edges of your design with an anti-static bag, being a bit careful not to get the dust on the stencil medium.  This avoids the foil sticking where you don't want it.    If  this does happen though, you can remove the foil by gently using a sand eraser (check them out on Amazon, they're not expensive)


A simple gem on the top of the tree, and a sentiment stamped underneath ...... done!


I love it when it's time to put the Christmas tree up, and it's almost here ...... whoo hoo!! 
A few new baubles have already been bought, and I'm already thinking of where to put the trees.  
I am a little nervous though ...... this year we have a little one who is now very mobile, and is into everything.  Christmas is going to be fun this year! 


Thanks for popping by ..... enjoy the rest of your day.

Cheerio until next time .......

Friday, 11 November 2022

Mistletoe anyone!!! ...............Christmas card ideas using Sweet Poppy stamps

Happy Friday .........

I can't believe we're into double digits in November already ........ this month is flying by!

Did anyone catch Lucy and Sweet Poppy Stencils on the TV yesterday? ...... sorry I didn't give you a heads up!  
I think it was the last show for 2022 but, don't quote me on that, I could be wrong.
Don't worry, if she is back again before the end of the year I will let you know .... I promise.

Yesterday's show was focusing on some new stamp designs, Christmas ones, and of course some gorgeous stencils.  If you were watching I hope you managed to get what you wanted ...... everything sold out so fast!!!  If you did miss out on anything, check out the Sweet Poppy website, you'll find all the new products on there.
 
Are all your Christmas cards done or, are you like me and only just making a start?  To be fair, I am earlier than last year with my cardmaking and, I have started thinking about trees and decorations.  You never know they might just go up that bit earlier too!
 
Clean and simple (CAS) is the way I'm going this year for my cards, and the Sweet Poppy stencils and stamps are just perfect for that.

How about a bunch of festive Mistletoe .........


Stamped and heat embossed onto black cardstock, and then coloured using metallic/pearlescent paints


A touch of glitter on the berries and a little white paint splattered onto the background to give the look of falling snow


And a bit of festive red twine to finish off.

Same stamp, different look .......


You don't always have to colour in your stamped images, why not use coloured cardstock.
For this card I've stamped and heat embossed an all over design, and highlighted just the berries with a touch of crystal glitter ......


Then used a two part die cut sentiment as my focal point .......


Or, how about Kraft card ........


Heat embossed in white this time, and coloured with pearlescent paints again.  


I added some white Enamel Accents to the berries and sprinkled with glitter whilst they were still wet.
Splattered the background with white paint, added a sentiment and finished off with a bow ..... very festive!


Thanks for popping by ...... enjoy the rest of your day and have a lovely weekend.  
It's looking like a quiet one for us, there's nothing in the diary .... yet!  

Cheerio until next time .........

Friday, 17 December 2021

And ....... they're done!

Happy Friday ........

Well, that was cutting it fine ..... my Christmas cards are done!  I think.
Can I apologise now for any that arrive late.  Oh! and also the two birthdays that I forgot this week too ....... sorry ladies!  I'm not doing very well am I.  Cards are on their way, I promise.  I'm going to blame it on the booster jab that set me back 48 hours!!
    
Every year I find myself saying the same thing ....... I'm not going to leave my Christmas cards to the last minute but, here I am again, a week to go and I'm still busy in the craft room.  It's tags and gift wrap next though ...... the fun bit!

Here's the last of my Christmas cards for 2021.  
First up,  a copy of a design I did last year I think, updated with this year's favourite festive die.  I do love a snowflake, or two!


Lots of stamping and heat embossing, using Tim Holtz's snowflake stamps in various sizes.  


I did a whole batch of these, and becasue I used the MISTI to do the stamping they didn't take that long at all.


A mixture of sparkly gold, silver and white embossing powders for the larger flakes, with a few tiny snowflakes just stamped inbetween to fill any gaps.   And then lots of white paint splatters over the top


I layered the die cut sentiment to add a bit of dimension, gave it a touch of sparkle with some fine crystal glitter,  and then attached it over the top of my snowflakes ........ love it!


I love it even more with a bit of mat and layering, for one or two special cards.


My final card for this year was made especially for the team at our favourite little wine bar/restaurant ......


Says it all really!

Thanks for popping by ..... enjoy the rest of your day, and have a lovely weekend.
I'm off to the post office now!

Cheerio until next time ........