Yes it's me, I am still here!
I know ....... it's been a while since I blogged ....... well over three months in fact!!!!
In case any of you have been wondering where I've been well, I've no real excuse except to say that life happens, and just gets in the way!
Since my last post, we've had many birthday celebrations (including mine!). We celebrated Burn's Night back in January at our favourite restaurant (the owner is Scottish!).

We had more snow on the island in March ...... woke up to this one morning! (thankfully it didn't hang around too long!).

We saw Elvis at the Villa Marina (well sort of)


and we had our first motorhome trip of the year, which was unfortunately cut short because hubby wasn't well.
Nothing too serious (we think, we hope), just a lot of back pain which meant he couldn't drive, so we had to head home early.
Since then he's had blood tests, physio, and an MRI (which we are waiting for the results of), but things seem to be getting better (fingers crossed!).
All these sort of things just seem to take over, and then the longer the break from blogging gets, the harder it is to get back into the swing of things. Plus, I haven't really been spending a lot of time in the craft room recently, and when I have been in there, it's just been me playing in my journals, so nothing really to blog!
I am going to try and get back into the habit of being here more often, and, I'm going to have to get back in the craft room on a regular basis, as my card stash is dwindling fast!!!
Anyhow, welcome to May! I hope you're all well and have enjoyed the long weekend, the first of three this month here in the UK. I say here in the UK because that's where we are at the moment ...... Scotland to be exact!
We're on our latest roadtrip in the van. We've been across since last Thursday (27th April) and we're not back on the island until May 20th, so it's a nice long trip, and as I said we're here in bonnie Scotland, again.
Our trip started with a morning ferry from the Isle of Man across to Heysham. We then drove up to Falkirk and had an overnight stay not far from the Kelpies ........

The weather wasn't brilliant when we got there but, I had to go and see them ....... twice. Well, it would have been a shame not to see them all lit up ...... they looked amazing.

Next day we headed off to Killin, and the Falls of Dochart.
We had three nights on a lovely little campsite just outside the village.
We visited the falls ......

Sampled the local food ........ my first haggis of the trip

Walked along the banks of Loch Tay .....

And of course purchased a couple of souvenirs ......

Again, the weather wasn't great ...... this is Scotland, in the beginning of May, we weren't quite sure what to expect, but we didn't get wet which was a bonus!
This morning, we drove north-west, through stunning Glencoe, and we're now parked on the banks overlooking Loch Linnhe. Our home for the next few days is Bunree Campsite not far from the town (or village) of Onich.
Not a bad way to spend the Bank Holiday ........

Well, enough about our travels for now, I actually have some crafty stuff to share.
If you're a Sweet Poppy Stencils fan then you've probably seen that they have a gorgeous new stamp release ...... a collection of nine beautiful botanical images, designed exclusively for Sweet Poppy.
If you love floral images, and you like to colour, then these will be perfect for you. The hard part will be choosing your favourites!
I had chance to work with a few of the new stamps before we left on our trip.
Here's a couple of ideas using one of my favourites ........ the pretty Sweet Pea

I do love Sweet Peas and this is such a pretty stamp.
I masked off the edges of a piece of white cardstock and then used Distress Inks to add some colour to the background.

With the masking tape still in place I stamped the Sweet Pea image off the edges of the coloured panel using Versamark Ink, and heat then embossed with WOW's new Polished Silver EP (my new favourite embossing powder ...... it's so shiny!)


A few ink splatters in the same shades, a simple sentiment and a few sparkly gems finish everything off nicely.
Next up ...... Brushos.
I stamped and embossed the image again, this time using a black ink and a clear EP


and some co-ordinating cardstock layers ties everything together.
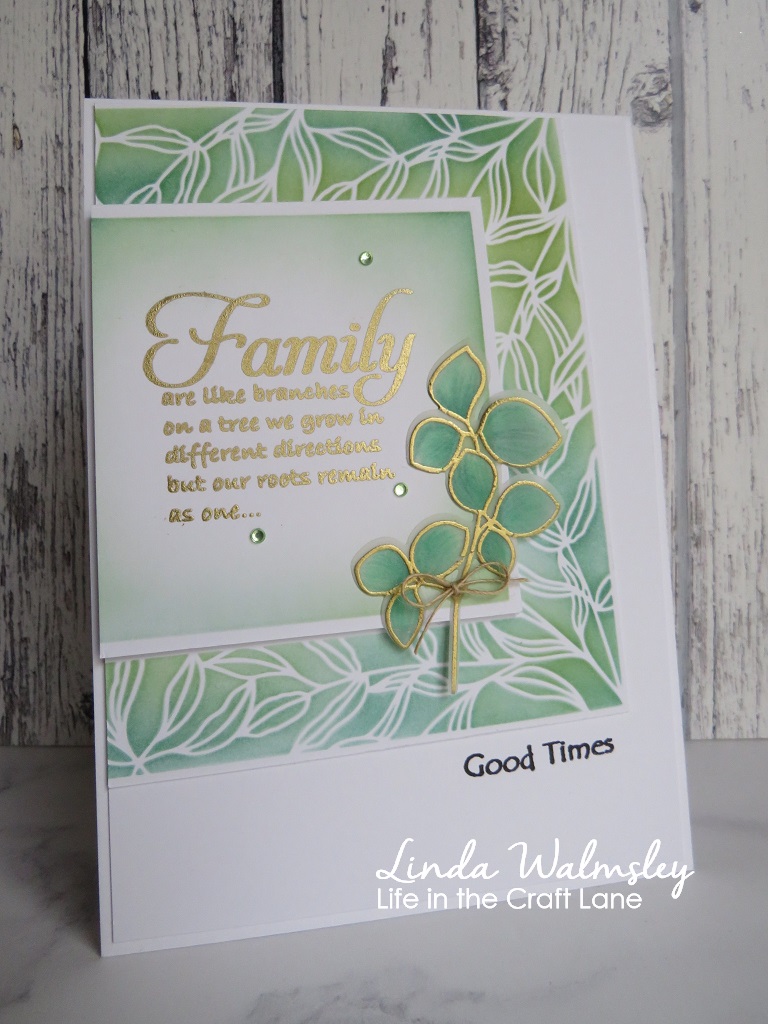
Last one for now is my favourite ........ I love a bit of fussy cutting!

A nice CAS design, using the pretty floral stamp to create a decorative edge for my card
Stamped and embossed, this time in gold, and coloured the flowers using Brush Markers

I then fussy cut around the outer edge of the stamping, leaving a small border around the image (this is more forgiving than cutting right up to the embossed line)

To make this stand out more when the card is closed, I picked out one of the shades from the flowers and attached a piece of similar coloured card to the inside, adding a touch of shading with a Distress Ink to the edges

A simple sentiment stamped on the front, and a few ink splatters to finish it all off

I'll share some more of the new floral designs with you over the next few days.
Well, I think that's just about covered everything for now. It's so nice to be back, and hopefully you've made it to the end of this rather long post.
My intention is to get back in the habit of blogging more frequently, and once we get back home the craft room should be well and truly open again ....... mojo permitting!
Thanks for popping by .......... have a great week.
We have the Coronation celebrations to look forward to this coming weekend.
We will be travelling again on Saturday but, hopefully we'll get to see some of it.
In the meantime ......

Not a bad way to end the day!