Showing posts with label Starlights Paint. Show all posts

Tuesday, 19 September 2017

What a weekend! .......

Happy Tuesday .....

Well ... this week is flying by, which is great because hubby and I are off on holiday on Sunday .... whoo hoo!!!
We're off to Croatia, and Slovenia ...... we've never been before so we're really looking forward to it.
But it also means that I haven't got much time to spare this week ...... it's full steam ahead in the old craft room, getting everything ready for the beginning of next month.  Or at least that's what it should be ........ yesterday was the bank, haircut, trip into town with Lauren .... and guess what .... I didn't buy anything (there's a first time for everything!)

I'm off out again today ...... then the little man is here after school so, I guess Wednesday, Thursday and Friday ...... you'll know where to find me!  Let's hope Mr Mojo hasn't set off for Croatia early!!

The workshop at the weekend was fab .... the table was full and we had three new faces. The theme was, by request, Black Cardstock.

It's not everyone's favourite I know.  Some use it just for matting and layering which is great, black card creates the perfect frame, and really makes your designs pop. But, it's nice to use in other ways too. Here's a few ideas that we played around with ......

Keep things CAS, with an elegant look ........


No need for extra colour ...... let your stamped images do the work


Keep the sentiments simple too ......


If you want to add colour try using pearlescent paints .......


These were done with Starlight Paints from Imagination Crafts.  I used a beautiful white ....


And a pretty pink .....


Add colour in a different way .... by stamping on to white card and then using pens or inks/paints to colour and then fussy cutting to create a pretty embellishment ......


Use the same image to create the background ..... simply stamped and heat embossed


Then add the pop of colour on the top .....


Finally ..... something I don't do very often ...... smaller cards


These are 6x4 inches and so cute.
And yes ...... something else you don't see me use a lot of ...... mirri card!

 
I spotted this pretty design on Pinterest ..... so I can't take the credit for this. I think it was originally on the Papertrey Ink Blog.  I've just added my own little touch to it .......
I stamped and clear embossed the image inside the frame as well, to give a bit more interest to the background ...... I love the look of clear embossing on black card, it's so delicate and looks elegant


Tiny cute sentiments and a little bit of ribbon to finish off .......


The only thing I don't like about Black cardstock is ...... it's hard to photograph, especially when there's shine or sparkle on there!!!

Not only was it a great workshop weekend ...... hubby and I had a fab time at the Food Festival (we always do!)
I got the Christmas pud .... and a Christmas cake ....... and chocolates, fancy coffee, biscuits, delicious steaks, sausages, pies, locally made Chorizo, olive bread and the best BBQ sauce EVER!!!


This was just the first trip down there!!! The wooden sign in the background was for hubby ....


As always the event was a great success ..... and the weather held out over the weekend too!  Roll on next year.

Before I go I just want to say a HUGE Thank You to one of my Blog friends .... you know who you are!  I got the biggest surprise on Saturday morning when these little beauties arrived ........ aren't they soooo pretty! I love them!


And then ........ the perfect thing came along to try them out .....


Thank you Carol .... you know me so well!!
I have the best friends ever!!

Thanks for popping by .... enjoy the rest of your day.

Cheerio until next time ....

Wednesday, 14 June 2017

And we're off ........

Good morning ..... and Happy Wednesday!

Sorry I'm a bit late sharing the workshop from the weekend ...... I've been a little busy so far this week.  We're going on holiday today .... whoo hoo!!

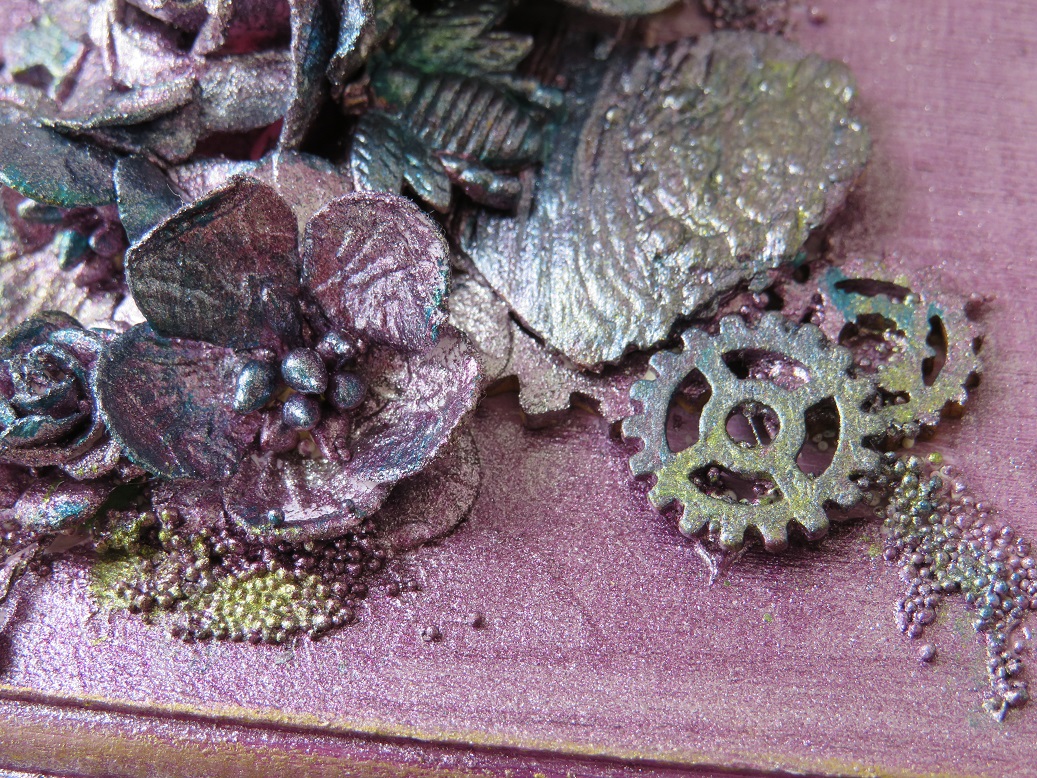
We did have a great workshop though .... lots of fun decorating wooden boxes using acrylic paints, gorgeous shimmer paints  (Finnabair's Art Alchemy Sparks range and the Imagination Crafts Starlights), gilding waxes and lots of embellishments.  It's funny how everyone follows the same techniques, but the end results are always so different .... I love it!

Here's a look at my inspiration pieces I created to get them started ......


You've already seen one of these up close, in a blog post from last week, you can find the details here if you missed it.

This box has actually been altered quite a few times ...... there's quite a few layers of paint on there now.  That's the thing ..... if you don't like how it's turning out, paint over it and start again! Or if you love the box but just don't like the colour anymore, paint over it again  ..... easy!


We used various embellishments to create the detail on the boxes ...... paper flowers, metal and chipboard cogs .....


Metal charms and tiny Art Stones ..... anything to add interest and texture


I even but a pretty drawer handle on the top of one box .......


I love how the crown looks on this particular box ..... I used gilding waxes over the paint to bring out all the detail ......

You can see there's more of those Art Stones on here too ..... some larger ones as well as the tiny version


We used texture paste and stencils to add more interest ..... and there's pieces of cotton lace in there too


Once all the detail and the embellishments were on, then came the paints.  The whole thing was painted over, some used just the chalk finish acrylics, others went for it and used all metallics and shimmer, and some even used a bit of both.   We got a fabulous mix of colours and styles ...... here's a look at the finished boxes ......


Aren't they all gorgeous .... love the pink, very feminine.


The golden honey colour looked so rich ....... and as I said, everyone did the same thing but each one ended up totally different.


I'd love to stay and chat but ...... I still need to pack!
Then it's time to load up the car and start on our journey.  Once we're across in the UK our first stop is Birmingham.  Hubby and I have 3 nights in a hotel .... 2 days at the BBC Good Food Show which is on at the NEC, and then dinner booked on Friday evening at a favourite restaurant.
Happy days!

Thanks for popping by ... enjoy the rest of your day.

Cheerio until next time ......

Wednesday, 10 August 2016

Out of this world ......

Happy Wednesday to you .....

Hope you're week's going better than mine ...... I can't seem to get anything done and the house is in a right old mess.  Not my fault though .... not this time ...... it's all down to Lauren.  They're moving out next week into a nice little house with her partner ...... so the packing has started.
There's boxes everywhere, clothes and shoes everywhere ...... although that's nothing new, and there's no space in the garage!!!!  Looks like our weekend is going to be spent clearing stuff to the re-cycling centre .... oh joy!!!

Anyway .....  enough of all that. The little man and I have been having some fun in the old craft room. He's had quite a few birthday parties on his social calendar recently so we needed some cards making. He spotted these little guys from the Out of This World set from Clearly Besotted and thought they were perfect for the job .......

 
Silly Grandma forgot to photograph the others before they were sent but ..... there's still one party left so we needed one more card.
Two birds .... one stone and all that ........ I thought I'd play along with this week's Less is More challenge, it's been a while.

As it was the first Saturday of the month at the weekend, it's a Colour Challenge and the ladies have chosen ......
BLUE and BROWN
(nice combination)

Don't these little guys look cute in their shimmery colours


Everything has been stamped using the Vintage Sepia Versafine ink and then embossed with a clear powder.
I've coloured the cute aliens using Starlight Paints from Imagination Crafts, mixed with a little water .... love the shimmer from these and the colours are fab! I've used Mediterranean Sky for the blue and the gorgeous Topaz for the brown.
You can see they were stamped on a separate piece of card and then fussy cut before attaching them to my card using foam pads.

I applied some Distress Ink onto the background using the acetate smooshing technique ......


and added a little something on the inside ...... well, every alien needs a space ship don't they .... how else would they get around (hehehe!)


Well that's it from me today .... I suppose I should make a start on something.  Ironing maybe, mop the kitchen floor or .... do I go to the old craft room with these guys who have just arrived .....


Woof! Woof!!  ........ the housework can wait.

Thanks for popping by .... enjoy the rest of your day.

Cheerio until next time